Well, after a three-month hiatus, I finally got back to work on the Ghia this week. Of course, my excuse has been two-fold: the heat and Valery's absence conspired to prevent me from lifting even a wrench for a dozen weeks or more, so the progress I had been enjoying until June simply ground to a halt.
Much to the relief of both readers of this blog, cooler temperatures and Valery's return have likewise combined to get me back out in the garage and get some grease under my nails. Though the going is still slow, it is at least going again.
 |
| After weeks of cleaning... |
 |
| ...it's as clean as I intend to get it |
I picked up pretty much where I left off on the rear end. The transmission was nearly cleaned when I stopped working, so that's the first thing I tackled. The surface of the cast aluminum transmission case is very complex, so after a few days of buffing and working it over with a brush, steel wool and some bits of sandpaper, I deemed it 'clean enough' and proceeded to paint it.
 |
| Masked and ready for paint. |
 |
| A nice coat of high-heat black. |
Before I could paint it, I had to drain the transmission fluid, both to prepare it for refurbishing and to make sure that there was no metal in the fluid. This required a trip to the oil change shop up the street to dump out the oil in my container first. The whole process is a complicated one, with a lot of steps depending on the previous one, and this was no exception. Once the fluid was drained I repainted the transmission case with some high-temperature black paint and set the whole thing aside, ready for re-installation at last.
 |
| A driveaxle ready to be rebuilt. |
 |
| The universal joint and cover. |
Next I turned my attention to the driveaxles. Having removed them months earlier with a special tool, I knew that these would be among the dirtiest jobs I would have left to deal with, so I left it till last, of course.
 |
| The grease is thick and dirty. |
 |
| Marked for rebuilding. |
The driveaxles didn't let me down in the dirty department. Although the grease was dirty, it was mostly viscous and it seemed like the universal joints were going to be re-usable. After removing the boot collar and the circlip that held the u-joint to the driveshaft, it was a fairly simply matter to drive the u-joint off the shaft. I put the whole u-joint into some solvent to break up the grease, then proceeded to break it down into the various components: two races, six ball bearings and the a pivoting ball that attaches to the driveshaft splines.
 |
| It's hard to tell if this is ok. |
 |
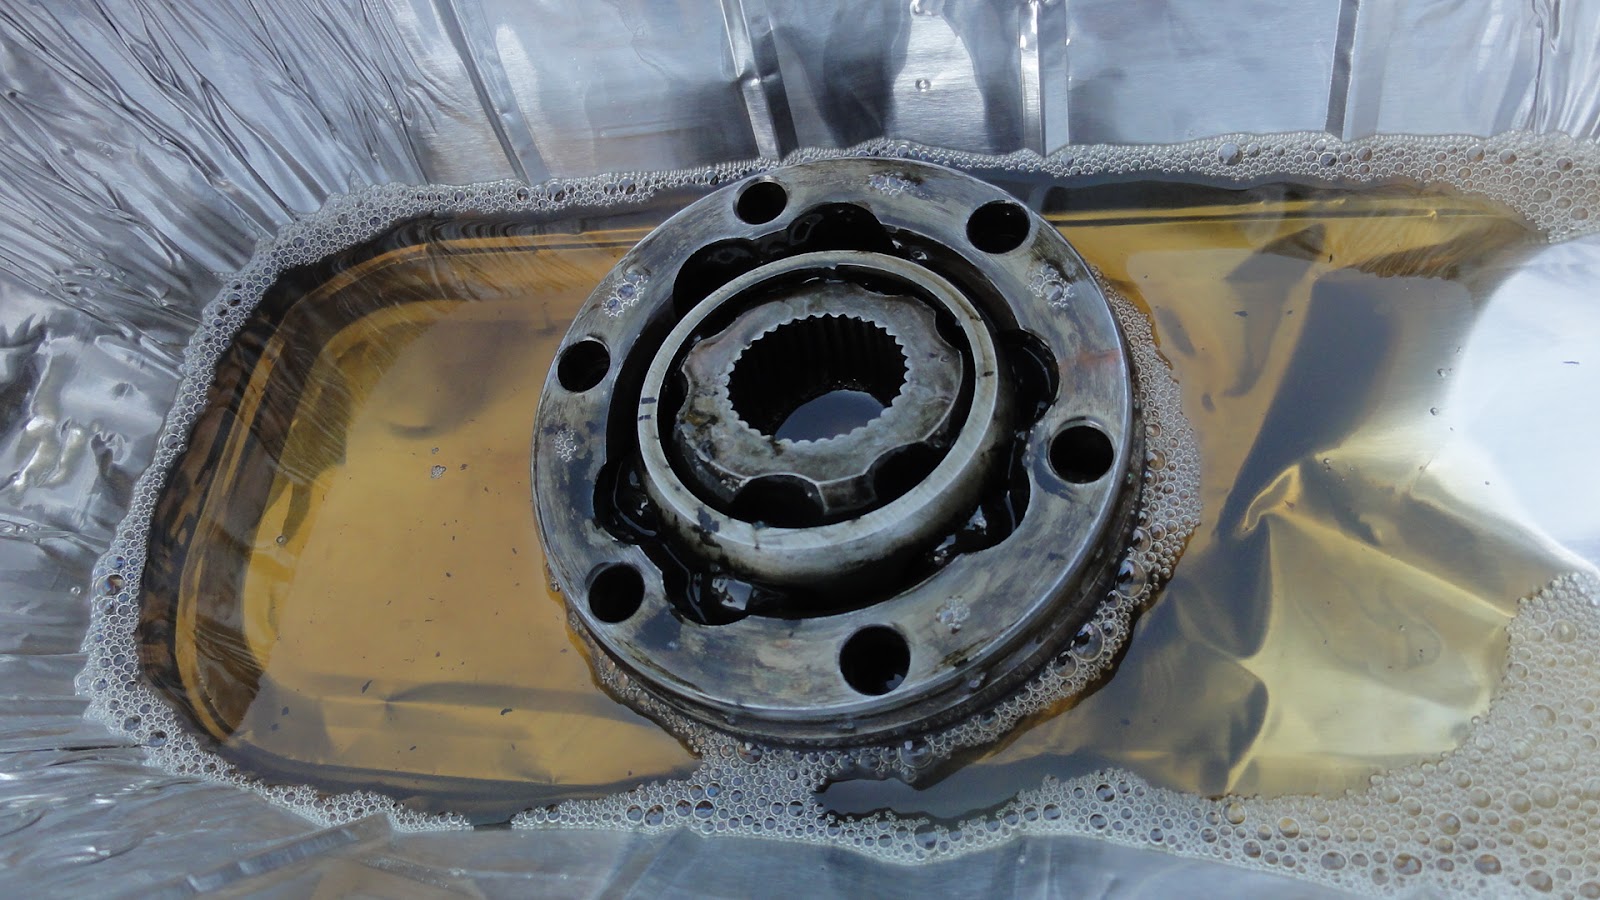
| A soak in the solvent. |
The first universal joint looked ok with all that dirty grease on it, but as soon as I cleaned it up, I discovered that it was no longer serviceable. Deep pits had formed in the races where the ball bearings had come loose and were banging back an forth. Although the bearings looked good, it was clear as soon as they fell out that the tolerances were too loose. The part cots about $75 to replace and there are four of them, so I'd like to re-use them if possible, but they can't be refurbished if the tolerances are too loose.
 |
| The bearings look good. |
The second u-joint looked very good, and I will be able to re-use it without a problem. When I tackle the other driveaxle, though, I will find out if I have to buy just another pair of joints or a whole new set of four.
I don't want to put such an important part back in the car unless it works perfectly, and like tires and other parts that come in pairs and quads, it's best to make sure they are all the same, or as close to it as possible. It doesn't make much sense to come this far and put damaged parts back on the car, so it looks like I will just spend the money and replace all four.
Once step at a time, however. Next up will be that other driveaxle.


No comments:
Post a Comment