Once the underside of the frame was finished, it was time to turn it back over and begin work on the top half.
 |
| Rust... |
 |
| ...insidious rust |
Basically, the work was the same as it was on the other side. First I had to remove the spots of rust that had spontaneously appeared on all the bits of freshly exposed steel.
 |
| Cleaned and sealed |
 |
| Ready for painting |
Next came the top side silicone seal which effectively blocks any moisture from working it's way into the interior via the floor pans.
 |
| Primer for the fresh bits... |
 |
| Undercoating over all |
Then, I sprayed some primer on all the bare steel spots and finished off the whole deal with another couple of cans of undercoating. Even though there were a few spots where the paint wrinkled up a bit, for the most part I got a nice smooth and even coating.
 |
| Both sides now |
 |
| Paint looks good |
Although it looks good, it's hardly finished. I will be putting down some sound-deadening material on the interior side of the floor pans, as well as another thicker silicone seal for the edges that will really make it a tight fit.
 |
| Time for the tranny |
 |
| In without a hitch! |
With the frame finally painted, it was time to begin re-assembly. I started with the transmission. First I had to fill it with fresh gear oil. Next I assembled the mounts and cross brace, fit the new rubber nose gasket into the frame and lifted the whole thing into place. It slid right in and when the big bolts on the front were tightened down, it looked perfect, just like a brand new piece.
 |
| Still painting things |
 |
| Trailing arms are ready to install |
The next day, it was on to the trailing arms, which had to be re-painted and installed. Because I'd done this twice already, it was an easy job. Both sides went in just before dark.
 |
| Front beam repainted |
 |
| ...and reinstalled! |
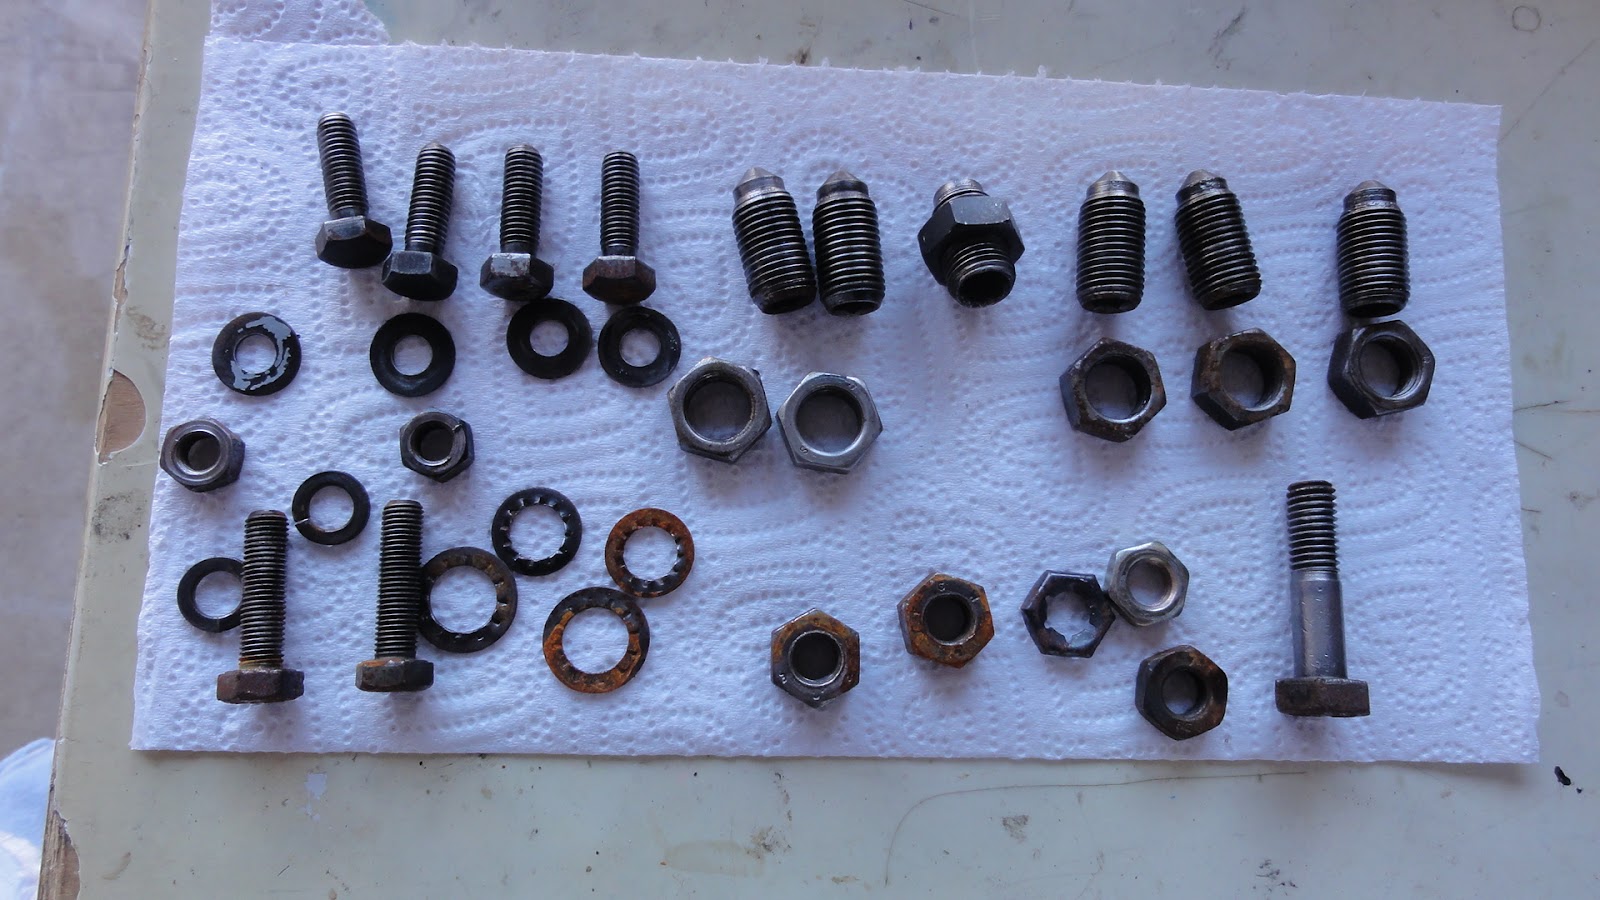
After that, the front beam, also freshly repainted, went back on, with the help of Valery and Madelaine. Previously I had thought I could just paint the beam and leave a lot of the parts (like the nuts and locking screws) unpainted, but even though we've been in a drought, when it finally rained last month, all those unpainted pieces developed a fine patina of rust.
 |
| All the bits were painted |
 |
| No more rust! |
So, I had to carefully wire wheel and sand off all the rust then coated the entire beam with a fresh coat of hard gloss black paint. I also cleaned up all the bits and pieces, painting them separately before putting them back on. The end result was most impressive. It really is starting to take on the quality of a rebuilt machine. It's not a show car, but all the pieces are there, all painted and perfectly assembled.
Next: driveaxles, re-assembled and installed.


No comments:
Post a Comment