 |
| Time for brake lines |
With the engine nearly done and ready to go back in the car, it was time to turn my attention back to the chassis. For one thing, I can't put the engine back on to the chassis until I put the car back on its wheels and tires. And I can't do that until I clean and paint the wheels. I also have to buy some tires, and for the time being, I am out of cash, so that will have to wait.
In the meantime, there are plenty of things that I can work on that won't cost me anything and don't involve the engine. Like the rear brake brackets, for example.
These brackets don't exist. Or at least, they didn't until I fabricated them. The reason I had to make them was because I installed a set of disc brakes on the rear, where the standard drum brakes had been, so the brake line configuration had to change.
In the old arrangement, the rear brake lines consisted of two parts: 1) a soft, flexible hose that went from the hard line junction on the chassis to a bracket on the trailing arm; and 2) a hard stainless steel brake line that went from that bracket/hose connection directly into the brake cylinder on the drum housing.
With the drum brake removed, the configuration became much more complicated because the disc brake has a flexible line coming out (instead of a hard line) and it emerges from the back and bottom of the caliper set, which is about eighteen inches longer than the original distance.
So now I have a double hose (consisting of a long and a small piece) and no place for that hose to connect to the hard line. In words this sounds confusing and even in 'real life' it was not much easier. I scratched my head for months after installing the calipers, figuring I would just have to figure it out when the time came.
 |
| Tapping the hole on the trailing arm |
Well the time had come. I looked carefully at the trailing arm and discovered that there were two small holes in it just at the point where the big rubber stop (which prevents the trailing arm from hitting the body with too much force) is mounted. I realized that if I tapped one of those holes, it would be the perfect place to mount the bracket.
Now, the bracket has to have two holes in it. One is large enough to allow the hose connector to pass through, but not large enough to allow the whole hose through. Once the hose connector is in this hole, the bracket clip slides down into a slot between the bracket and the connector. The other hole is small, used for the mounting bolt. The whole thing can't be very big or it will get in the way, and it can't be too flimsy or it will bend and the brakes will fail.
 |
| The first prototype out of paper |
 |
| Drilling the first hole |
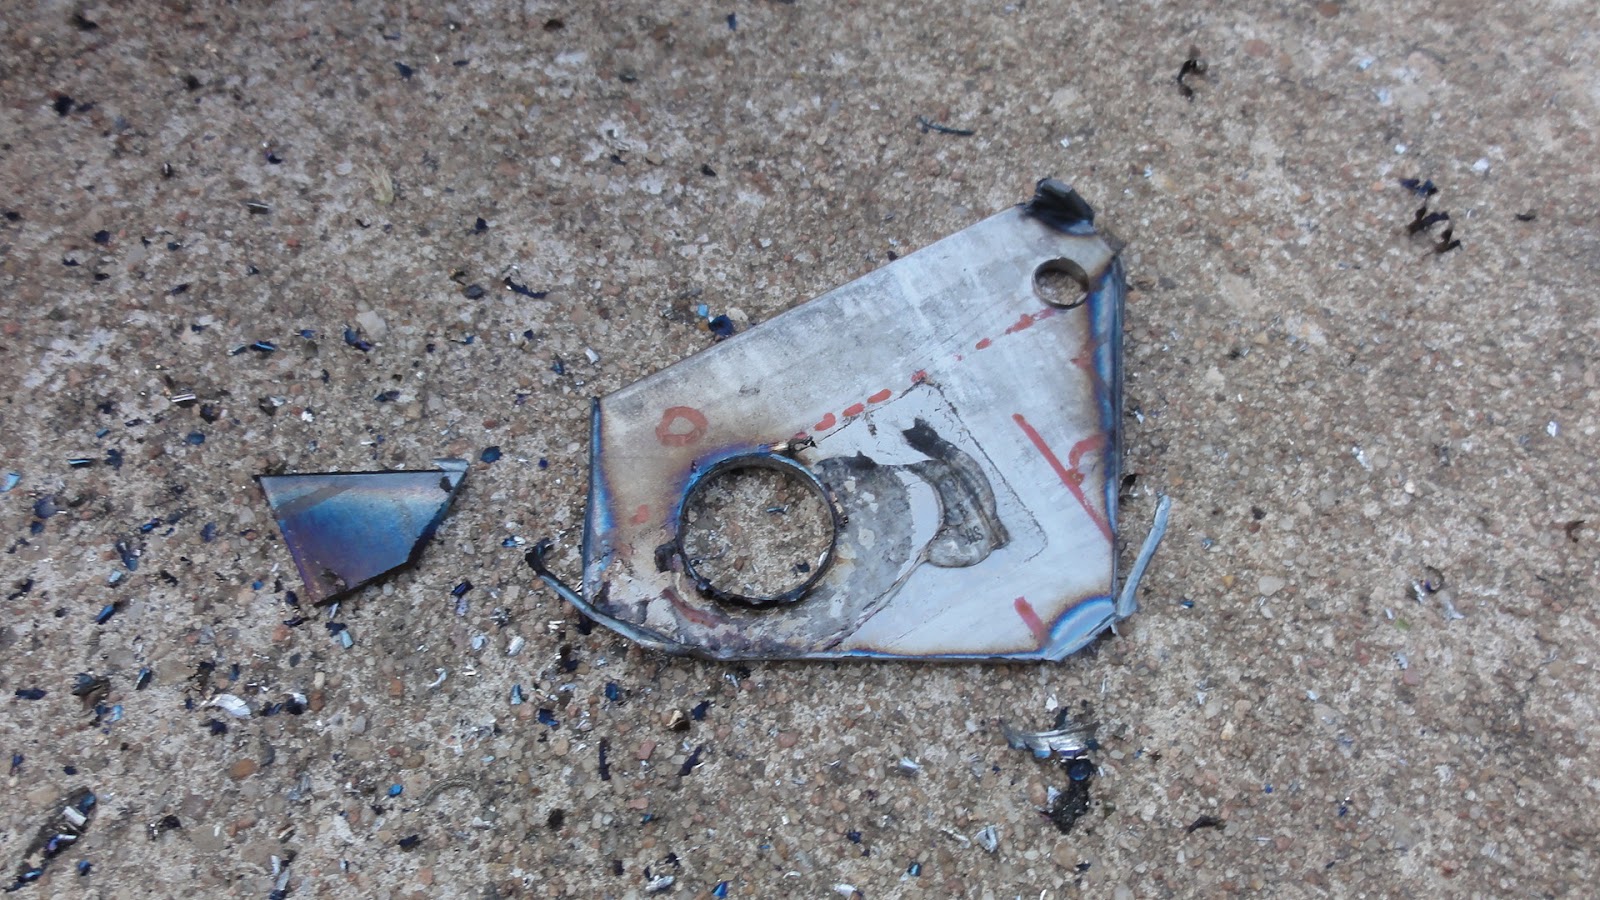
I started out with a piece of paper. I drew what I thought would be the correct shape and cut it out. Amazingly, my very first paper piece looked like it would work, so I set about to make it in steel. I had a very thin piece of steel that I used to practice my welding on. I bought it from a scrapyard, thinking it was about the same thickness as the sheet steel in the body, but it proved to be much thinner than that, so I set it aside. Now it seemed like it would be just the right thickness, so I traced the paper template on the steel sheet and cut it out with a a high-speed cutting tool.
 |
| Several versions were required |
 |
| Step drill bits that almost worked |
One of the very first problems I encountered was the size of the big hole. I measured the connector and found I would need a hole no smaller than 9/16. This meant I would have to buy a special bit of that size, since 1/2 inch was the largest bit that I could find in a reasonably priced set. A 9/16 bit cost over $15, which is at least double what a new set of carbon-tipped bits (with sizes ranging from 1/16 all the way up to 1/2 inch) would cost. And I only needed it to drill two holes.
 |
| Version #4 |
The compromise was to buy a step-bit set for about $8. This three bit set looks like a stepped cone, and the idea is that it will drill holes of any size, one step at a time. You start small and gradually the hole gets to the size you need.
 |
| The hole is first |
This is the idea, but in practice, the bit heats up and fails as you get into the larger sizes, rendering the bit useless long before even one hole of the proper size has been drilled. Eventually I decided to go ahead and buy the carbon-tipped set that included the 1/2 inch bit and use that and a file to get my 9/16 inch sized hole.
 |
| The piece is cut out |
 |
| The raw piece |
Compounding the bit problem was the fact that it turned out that it wasn't just to drill two holes. Because I was going to have to fabricate several brackets as I honed in on the correct size and shape, it meant that I was going to have to drill a bunch of these big holes and the drill bits just couldn't keep up.
Eventually, however, I managed to make two holes of the proper size, but first I had to cut out, shape and bend at least five different versions of the bracket before I had one that I knew was going to fit and not fail.
 |
| Mounted, #4 is too big |
 |
| Starting on #5 |
One key factor was the thickness of the steel. I bought a piece of steel at Home Depot for about $9 and even though it was a lot thicker than my first piece of scrap steel, it was still too thin. I couldn't find a piece of steel at Home Deport that was any thicker, so I settled on using a bit of the thinner steel as a shim.
 |
| Both raw brackets and shims |
 |
| The bracket and shim in place |
This meant cutting out two small squares of thin steel, drilling 9/16 inch holes in them, then placing those shims on the bracket with some epoxy. Though complicated, actually worked, and eventually I had not only the proper shaped brackets, but the shims and bolts in place. The connection is solid and secure, and it even looks like it was meant to be there.
 |
| Loopy lines |
 |
| They look goofy but work |
Unfortunately, the arrangement is not as neat as I hope it would be. This is not because of the brackets, but because the brake lines that came in the kit I bought were just a bit too long. This meant I had to bend them in some rather unusual ways, creating a kind of loopy look that will work but sure doesn't look stock. Even though that wasn't the intention, if it works I will be happy with it.
Next up I have to install the front-to-back brake line, install the brake fluid reservoir on a temporary bracket (it's actually supposed to be mounted on the the body), fill the system and bleed the brakes.


No comments:
Post a Comment