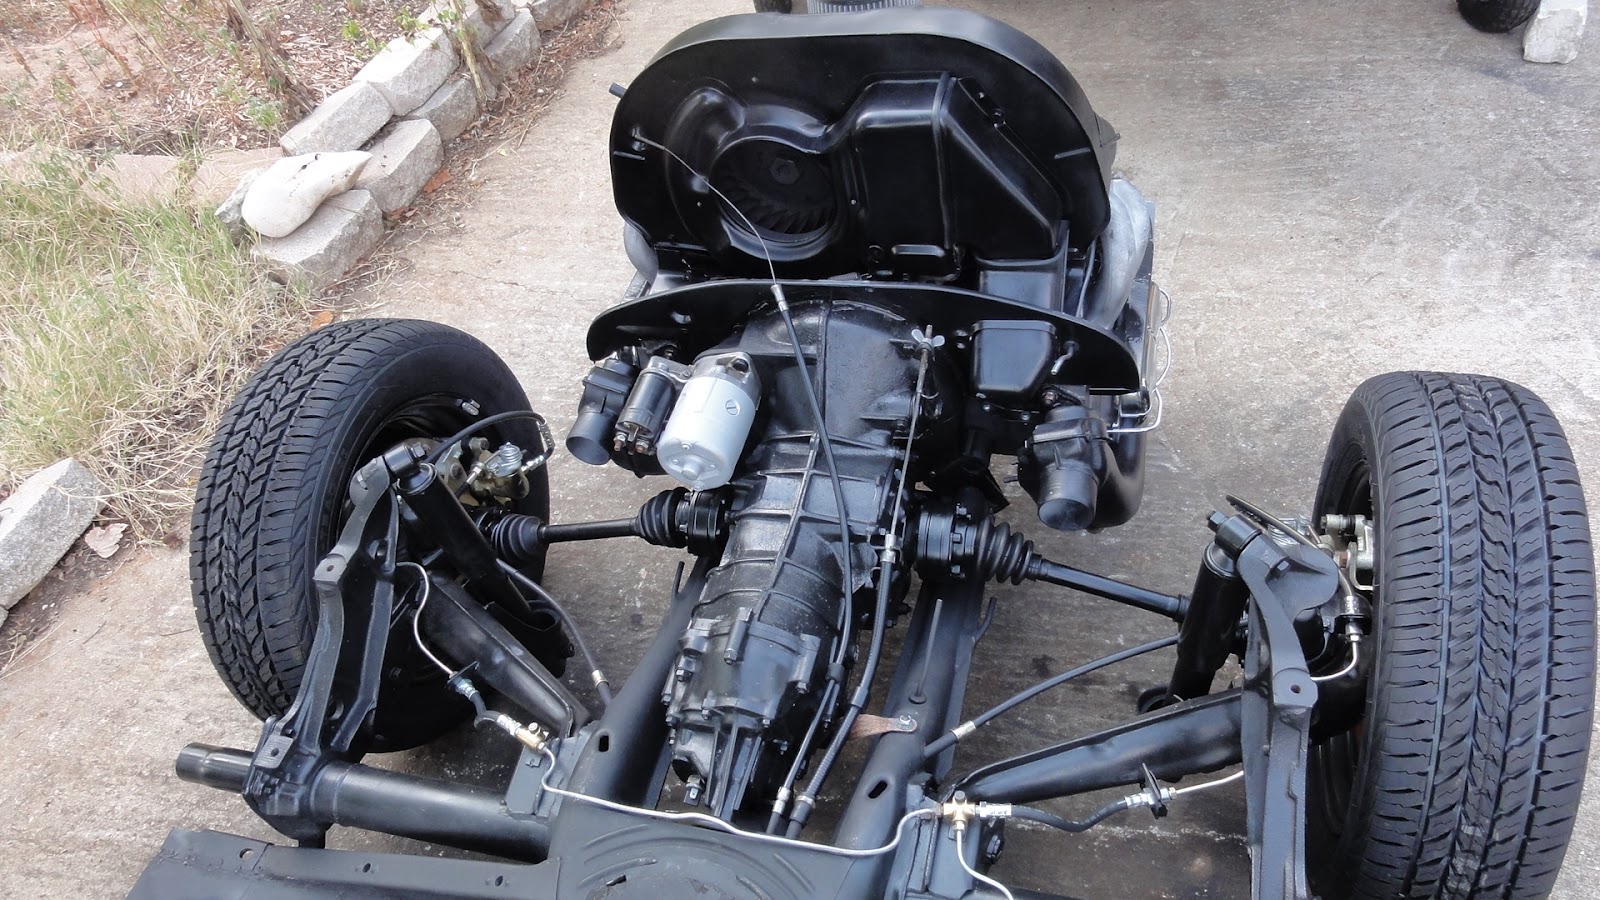
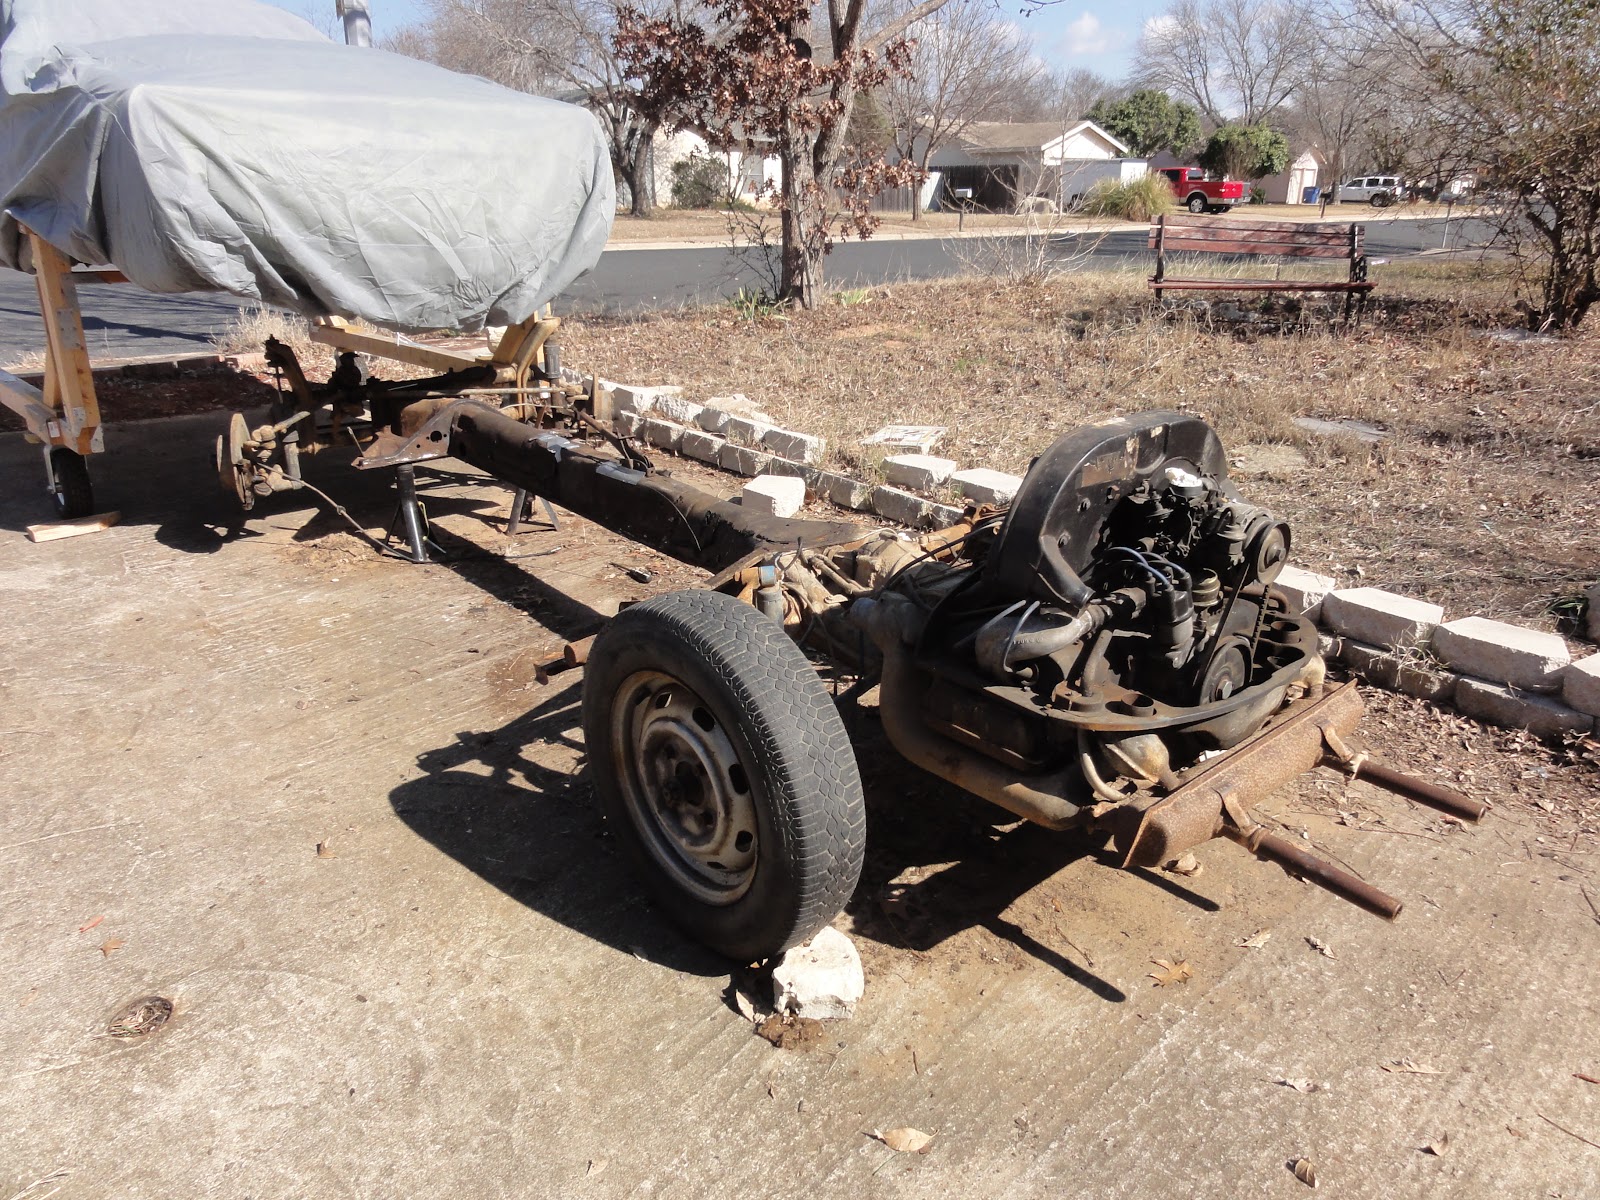
The whole reason for making the push and bearing the expense of getting the wheels and tires back on the chassis was to be able to mount and test the engine.
 |
| Chassis ready for the engine. |
 |
| Just add engine to go! |
While I could 'bench test' the engine on the ground--or at least mounted on a couple of two-by-fours--using just the most basic of wiring and fuel lines, I felt it would be better to mount the engine onto the chassis for this test. Not only is the mounting hardware ideal for holding it in place, it will also allow me to test out the various linkages like the accelerator, clutch and fuel line.
 |
| Ready for those parts. |
 |
| All the bits are here. |
I dragged the engine out of the garage and laid out all of the pieces in the driveway. All the various bits that I have already test-fitted at one point or another were brought out, including the engine tin, the coil and spark plug wires, the carburetor, the heater boxes and the muffler were ready to put on.
 |
| The starter looked rough... |
 |
| ...but it cleaned up nicely! |
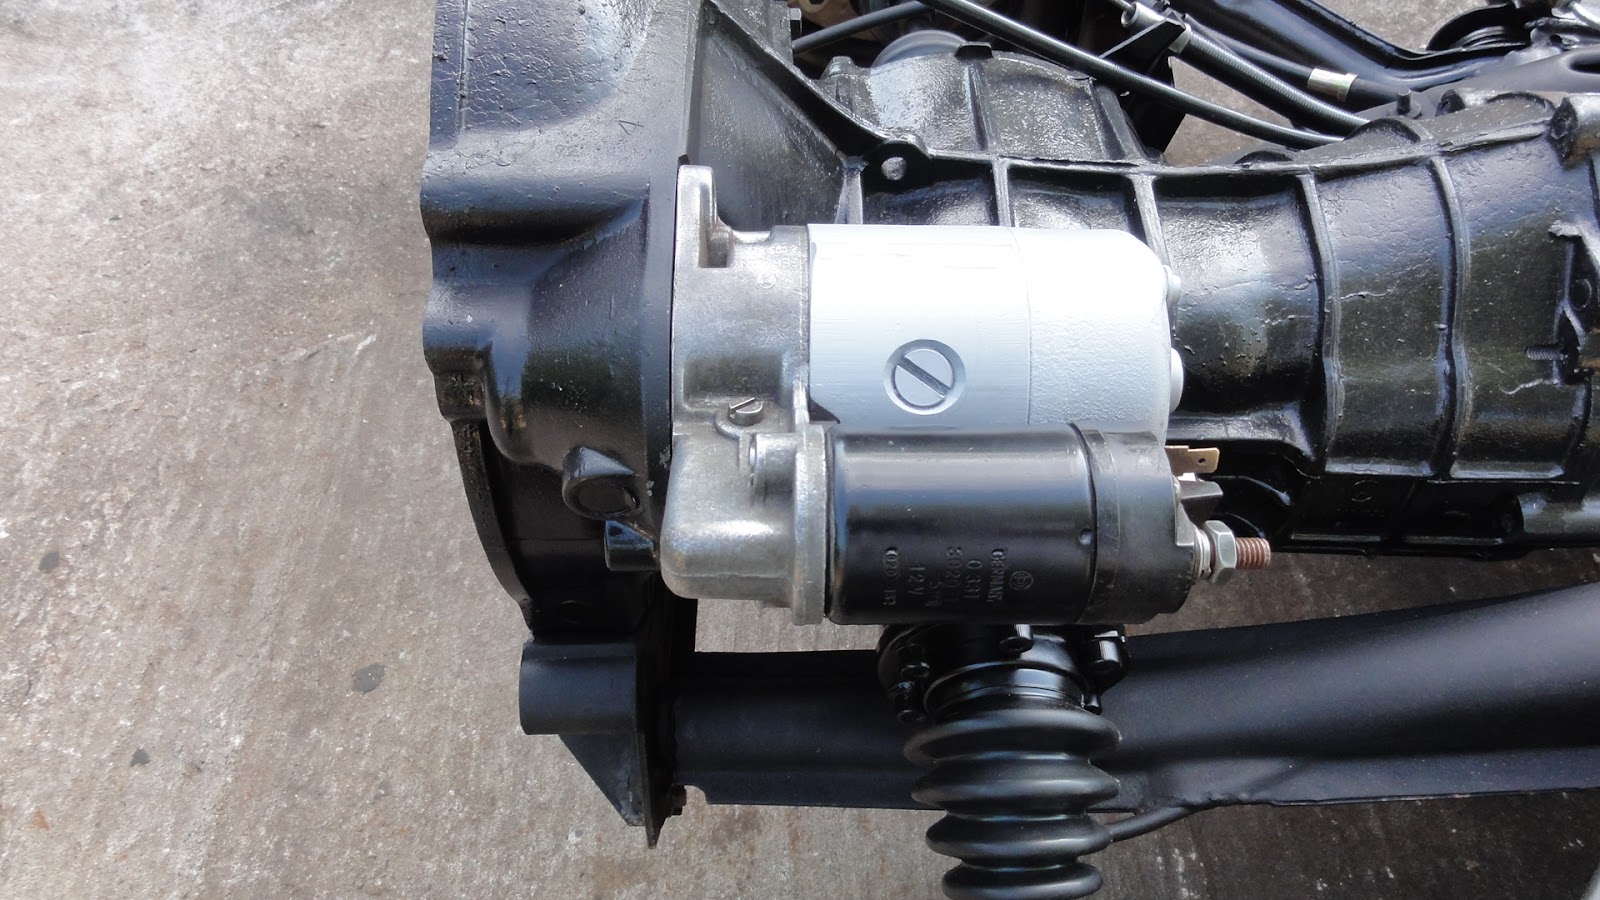
I also cleaned up, repainted and re-installed the starter and solenoid combination on the back of the transmission. Since I had no idea if it actually worked or not, I wanted to test this thing too, but figured the best way to do that would be to hook it up and see how it works. The worst that could happen would be that it just won't work.
 |
| A lot of tin and part to go on. |
 |
| All laid out. |
I could say the same about the alternator, which I would love to have tested but really couldn't think of a better way to find out if it works than putting it in the engine and seeing if it actually works. The problem with this approach is that it will be hard to tell if the alternator is actually doing it's job, charging the battery as it spins. One thing is sure, if the engine doesn't run at all it could be the alternator, so I'll be testing that all at the same time.
This approach to testing is fraught with danger and the risk that
something--likely something very small--won't work is very high. This makes it a very complicated test environment. I am going to be testing to see if half a dozen new, rebuilt or just replaced parts have been put back together correctly. Given that this process has been guided by someone who only sort of knows what he is doing, it's very likely that it won't start, won't run, or worse, break.
 |
| The heater boxes and muffler. |
 |
| Everything lines up. |
Before putting the engine back on the chassis, I also had some final assembly to take care of on the engine. Most of the bits had been put back on while it was on the table, but once I moved it to the dolly and was waiting for the tires and wheels, I left a lot of parts that could have gone on the engine off of it, just to make the transition easier.
 |
| The heater flap control rod... |
 |
| All hooked up. |
I started by putting the fan shroud with the alternator back over the oil cooler and attached it to the block. Then, after tightening the alternator strap, and attaching the transmission ground strap, I put on the heater flap control rod, hooked up all the spark plug wires and routed them through the new mounts on the fan shroud.
 |
| The transmission ground strap |

Things like the heater boxes and the muffler were much easier to put back on with the engine out in the driveway. These big pieces, plus lots of the engine trim--especially the pieces that go below the pushrod tubes and attach to the heater boxes--went back on without much trouble. The hardest part is connecting the bottom pieces of tin. I had to leave this task until I had the engine up on the chassis so I could actually reach the mounting holes with a screwdriver.
With the major bits back on the engine, it was time to put it back in place.
Getting the engine back on the car was actually a very easy job. In fact, I did it by myself in just a few minutes. In fact, it went so quickly that I didn't even get any good pictures. I brought the engine up as close to the chassis as I could get it on the dolly, then placed the two jacks under the heater boxes.
 |
| The engine is in! |
 |
| Ready to run? |
I jacked it up slowly until the transmission shaft was lined up with the clutch, wiggled it a bit to get the engine mounting studs into the holes on the transmission, then, with a gentle but confident push, I shoved it onto the shaft. I slid in the engine mounting bolt on the starter, and put the two bit nuts on the studs at the bottom. A few turns and it was secure enough to pull away the jacks.
Next, it is time to test the engine!