Showing posts with label Steering. Show all posts

Thursday, June 16, 2011

Front End Fun


Finally it's time to rebuild...
...all the pretty parts are lined up
This was one of the most anticipated and delicious moments of this whole process so far.  I have thus far managed to keep up the momentum in this project by segmenting it, thinking only of the next two or three things that I am going to do on the car.  This not only helps me keep focussed on the practical tasks that will move the car forward, but it keeps me from getting daunted by the enormity of the the entire undertaking.

There are, however, parts of the process that I anticipate and envision long before they are possible, and this helps to keep me dreaming about the finished project.  One of these parts was the front end, which I successfully rebuilt this past weekend.

The first piece back on... 
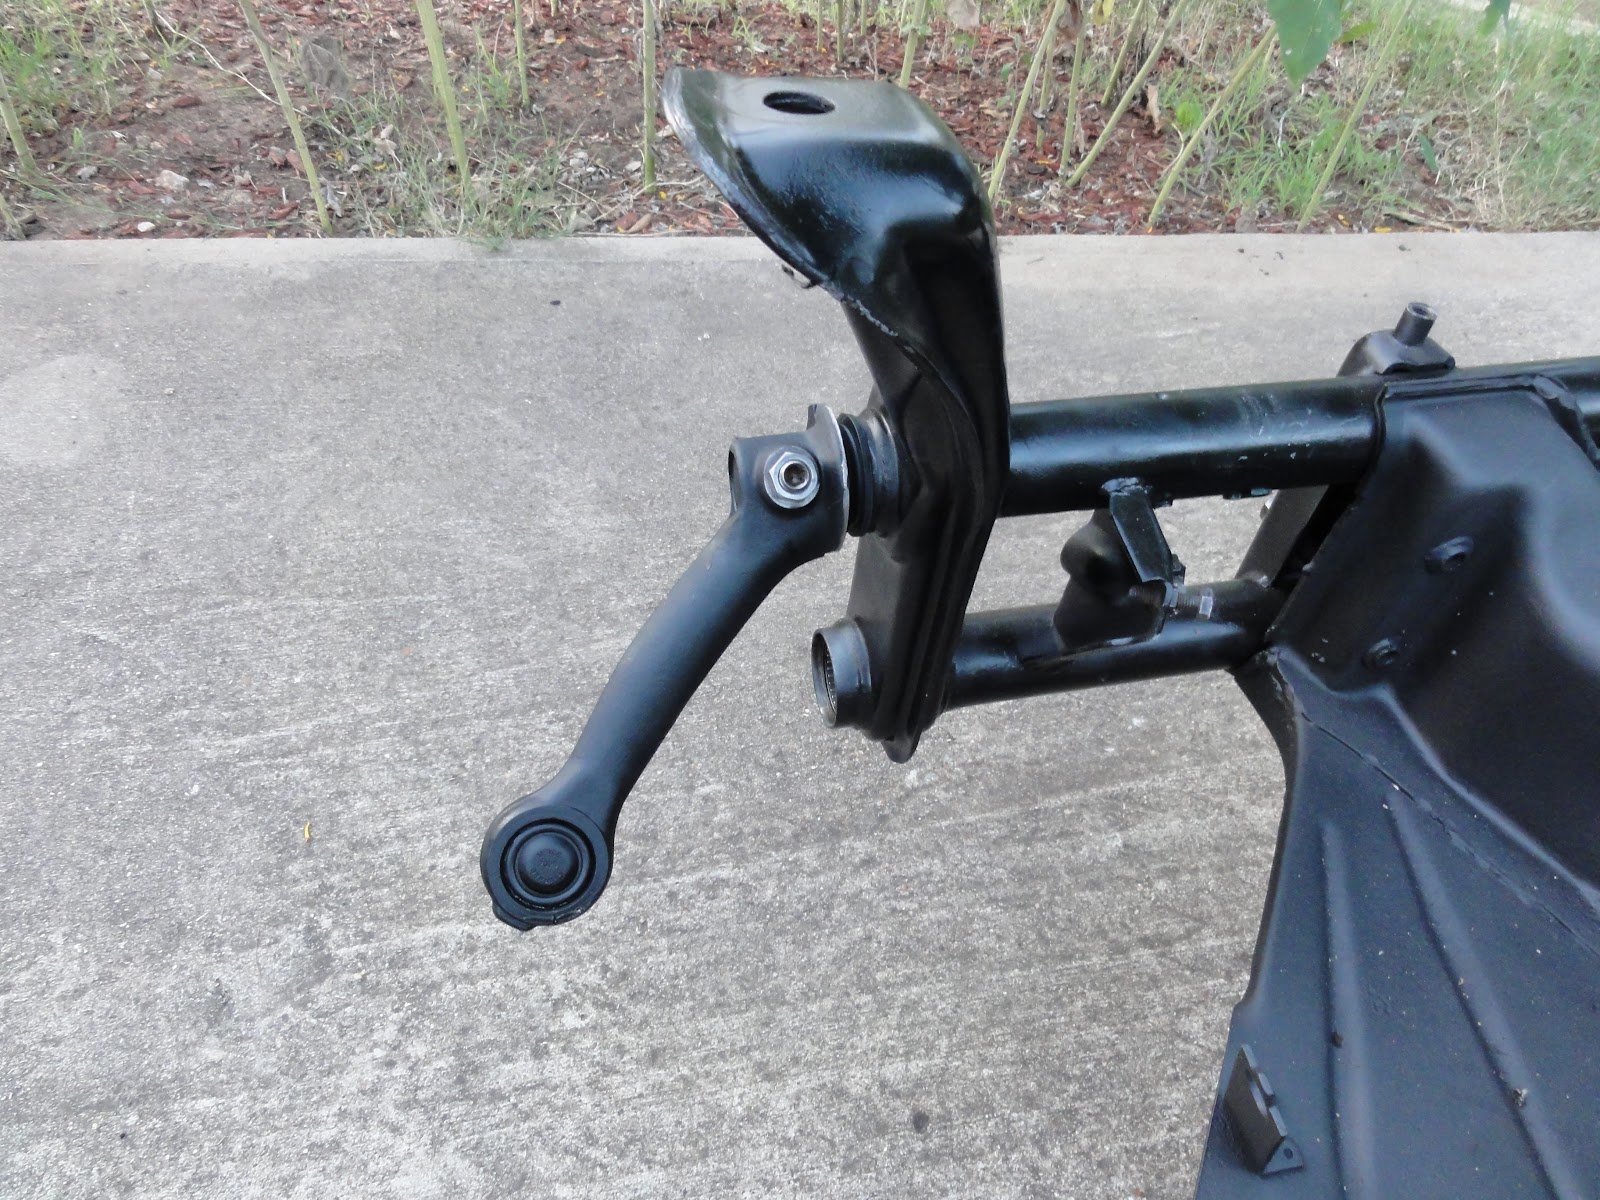
...is the top torsion arm.
Of course a claim like that requires some qualification, since it wouldn't be accurate to say that I put the whole front end back together.  Rather, I can say that I managed to assemble what I have been calling the 'heavy metal'--the front beam, with it's torsion springs, arms, ball joints, steering box and tie rods.  All these parts form the bouncy parallelogram that is the front suspension, and many of them required more than just a simple buff and paint.  I had the ball joints pressed into the torsion arms a couple of weeks ago, so by now, all they needed was some flat black paint.

The spindles need to be buffed...
...but they cleaned up nicely
The spindles, now free of the ball joints that had held them to the torsion arms for so long, were ready, having been buffed and painted the previous week.  It was a bit tricky mounting them, but with a little upward force on the top arm, they just fit the way it was supposed to.

New ball joints are installed...
...with the spindle between them.
The lower torsion spring set was shot, so I went over to Austin Veedub for a replacement set.  Knowing the terminology now is helpful, since I was able to ask for the right part and the guy even knew what I was looking for.  He set a guy to work on it while I waited.  Soon I heard the sound of rhythmic banging coming from the spot where the guy was supposed to be removing my spring set, and I knew that couldn't be good.

Hmmm. No banging should be required to remove those springs.

Just remove a couple of set-screws and it should just slide right out.  Not sure if the banging was actually related to my quest,  I took Loki out for a drink of water and when I returned, the parts guy had a set of torsion springs out on the counter.

The wrong springs.

I knew this right away and told the guy so.  He looked chagrinned but said "I knew it!  The Boss just came by and told me that these were what you needed, but I didn't think so."  "Well," I said, "You were right.  Now where's your guy working on that set?"  He took me into the back where I found a young mechanic bent over the front end of a shell of a bug.  A long metal pole was sticking out of one end of the lower torsion tube and barely an inch of the springs had emerged from the other side.  I looked at it and could see that the tube itself was bent, and that was what was preventing the springs from coming out.  I told him that the top and bottom springs were identical and that it didn't matter where my set came from, so he quickly loosened the set screws and in less than a minute I was headed to the cashier with my greasy prize.

I felt like a head-hunter emerging from the jungle with my trophy.  Back home, I slid the torsion spring set into the tube as soon as I got it out of the truck.  This was the last, greasiest and dirtiest job I'll have to do for some time.  I expect that I'll face some similarly tough moments in the body rebuild, but this part really symbolized the baseline for this reconstruction.

The steering box needs help...
Fresh grease, please.
After those greasy springs went in, it was time for another semi-dirty job required prior to this rebuild:  cleaning and rebuilding the steering box.  When power-washing the frame a few months back, I inadvertently blew the plastic plugs out of the steering box cover and forced a bunch of water into the box itself, where water is definitely not supposed to be.
New tie rod ends, too.
Tie rods connected to steering
I thought perhaps I had ruined it because the action soon got a bit stiff, but in fact it turns out to be a fairly durable component with a couple of heavy metal gears inside that do not rust easily.  I simply had to remove the top plate, clean out the hydrolyzed gunk and refill it with gear oil.  A quick coat of paint and it was ready to reinstall.  I was careful not to disturb the blocking bolts that limit the reach of the Pitman arm, so it was a simple matter of mounting the box so it hit the two bolts at the end of its reach and bolting it into place.

Once the steering box was back on the front beam, it was time for the rest of the fun, clean work.  This is what I had been looking forward to for so long.  And, it went exactly as I'd hoped.

The long tie rod and new end.
Steering damper, too.
Slowly I was able to fit all the parts back together, carefully buffing and cleaning up each bolt, bracket and nut as I went along.  Some of the parts, like the tie rods, had already been sanded and painted, and just had to install the brand new ends.  I measured the old tie-rods carefully so when I fitted them back in, they dropped in perfectly!

A new front end is installed!
The best part of this whole exercise was this, the final assembly.  I collected all the clean, painted and new pieces and proceeded to put it back together like a big metal model.  After assembling countless models with their decorative little tie-rods and wheel spindles, it was a delight to put together something massive and real.

I love it when that happens.

Next:  Back to the back...

Tuesday, March 1, 2011

Front End Follies and Engine Removal


Much to the disappointment of at least one Reader, there will be no further mention of ball-banging in this journal, as it appears that the author is, sadly, incapable of said banging.

Close observation and careful reading on the internet (both of which are considered by experts to be critical auto mechanical skills) have revealed that the task is one best left to professionals, who will apparently not bang, but gently press the ball-joints out of their sockets in the torsion arms, at a cost of $35 per socket (or ball-joint, depending on your point of view).

To this end, yesterday I called Austin VeeDub--the local VW scrapyard/spare parts/machine shop--and they do this all the time, so instead of ordering the ball-joints online and trying to put them in myself, I'll just pay for the service and the parts and let them do it all in one go.  I'll just take in the old and come back for the new.

Pulling all these parts off has been relatively easy till now.  This is the first thing that I simply can't do here in the driveway.  There will be other things, like having the rotors turned and polished.  I had to pull them off first, of course, before I could get to the ball joints and torsion arms, and they look a bit worse than they really are.  They are a bit rough and have a bit of rust around the edges and on the back, but that can be machined/cleaned off with relative ease.

The piece I was after was a bushing.  This bit of plastic (formerly rubber) is what keeps the torsion arm from scraping against the front beam tube, and it is the most difficult and 'deepest' part I will have to replace before I can begin to rebuild.  Or so I thought.  Pulling off the lower torsion arms I discovered that the spring steel torsion 'leaves' that are inside the front beam tubes were rusted and broken.  Somehow water had made it's way into the tube and reduced the grease inside to a useless gray cream.  Rust and torque did the rest.  I pulled out the whole set of torsion leaves and threw away the broken ones.  The call to Austin VeeDub also revealed that they had sets of these leaves in the used parts department.  All I have to do is come down and find a set that fits.  Interestingly, when I called Austin VeeDub, the used parts manager is the same guy that was working there back when I rebuilt my other two VW's!  I don't know if he'll remember me, but I sure remember him.  he helped me solve more problems than anyone besides John Muir (cf. How to Keep Your Volkswagen Alive).

After pulling apart the front beam as much as possible without actually pulling it off the frame (no need to do that yet, as I'd just have to store it somewhere) it was time to remove the steering box.  I hadn't planned on this, but discovered that after the power washing I had gotten some water in the box and it was beginning to get stiff.  So, I pulled it off and as I turned it over, the remainder of the oil in the case poured out all over my leg.  Three days and three showers later, I think the smell is gone, whew!

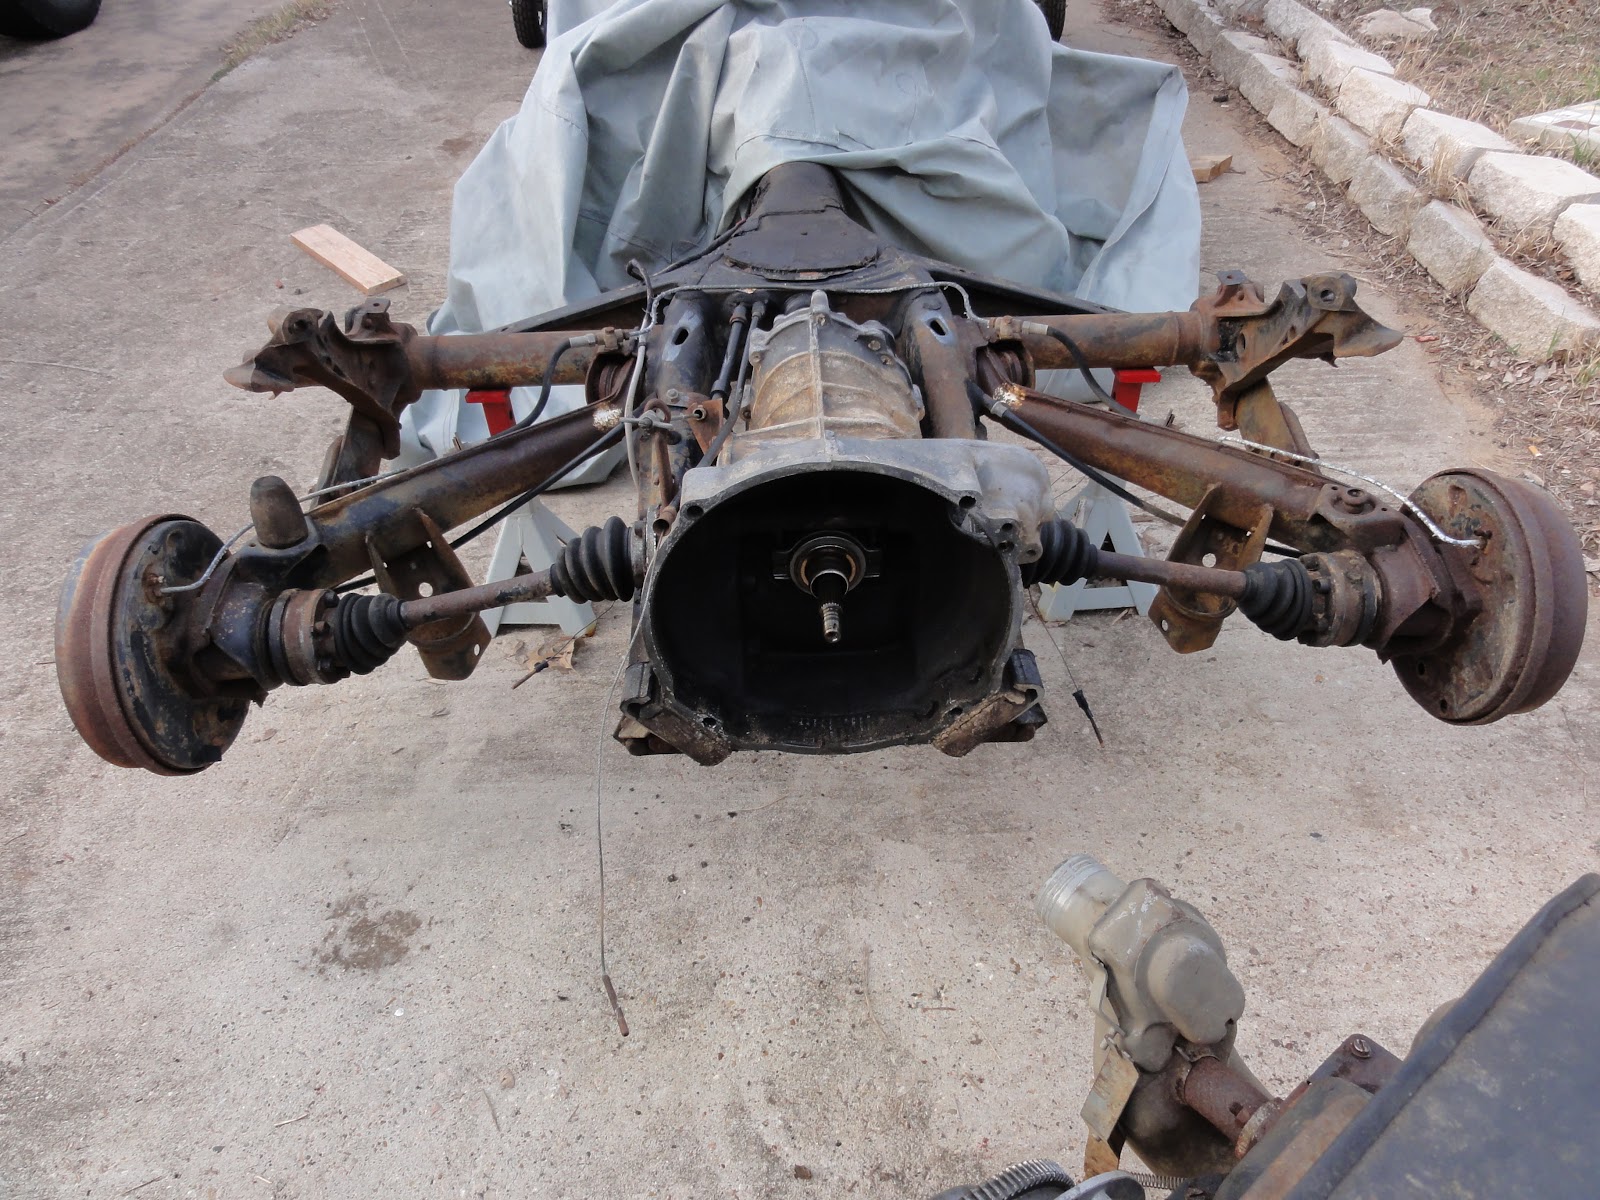
Next it was time to pull off the engine.  This is necessary at this point only to restore some balance to the frame now sitting up on jack stands.  After pulling off all the front heavy metal, the whole thing was beginning to get back heavy, which meant I could tip it up with barely a finger.  One more part off and the it would just sit up on it's butt.  Richard suggested putting some rocks on the front end to hold it down, but I opted to pull the engine instead.

Pulling the engine is not a difficult job when the body is on the car, but with it off, it's amazingly easy.  There are just four bolts holding it to the transmission case, and I had these out in just a couple of minutes.  I bought a cheap little dolly at the tool store and put it under the engine along with a couple of scissor jacks.  Then when the bolts were out, I just lowered it down and set in on the little dolly and voila!  Now I have the engine off but I don't have to move it very far, which is nice.  I just leave it under the trap like before.

It looks like the clutch is is good shape, which reinforces my belief that this car didn't get driven very much after the rebuilt engine was put in.  Closer inspection of the transmission though, makes me think it was the original on the car, and a likely candidate for replacement.  Leaks from the seals around the driveshafts are good indicators that it's time to replace rather than refurbish this part.  After all, it's way too complicated and just cheap enough that I don't have to bother.


Next up:  After transmission removal, the rebuild begins with the front beam.

Tuesday, October 26, 2010

Steering Out! Body Ready for Liftoff!


Sunday came this week with a threat of rain, but this is Austin.  The day dawned cloudy but by the time Henry stopped by to help me pull the steering column out, the sun was high in the sky and it was a perfect day for a couple of car guys to go play.

The steering wheel had been vexing me because I knew it had to come out but I just could not figure out how.  I thought it would be as easy as removing the two bolts under the dash and just slipping it out of the hole, but that was before I had a good look at it.  I could see that it also had to be disconnected from the steering box, which was no problem, just a couple of bolts holding a clamp on the spline, but it was the retaining clip at the top of the crushable cage where the steering column fit through the body that was giving me the trouble.

It looked like even if I pulled that clip off, it was going to hinder the easy passage of the column (especially that cagey bit) through the hole.  I pondered this as I detached everything else, but by this Sunday, that list was down to just a couple of things, and one of them was the damn steering column.  Fortunately I had Henry to assign this task to, and he delivered the goods.

Of course, it turns out that the retaining clip actually came off, so the problem wasn't as vexing as I'd made it out to be, but then, what problem is unlike this?  So, with no beer to slow him down, Henry had that thing out of the car in less than half an hour.  He also removed the broken-down plastic p-o-s steering wheel, which I am looking forward to replacing with an older more elegant version.

While Henry was working on the steering column I was drinking beer and working on freeing the last sticky spots between the body and the frame.  This meant I had to pull out the cutting wheel to zap a sloppy little weld right up at the front on the passenger side, but once that cut was made and we gave it the old heave-ho, lo and behold, the body lifted right up off the frame!

Success!  Well, sort of.

Not only didn't we have the strength to lift that sucker up right then and there, I didn't have the platform ready for it either, so back down it went.  I have most of the platform built (missing a sheet of plywood) so we can hopefully pull this thing next Sunday!