Showing posts with label gearbox. Show all posts

Thursday, January 5, 2012

Paint, Transmission and Trailing Arms

Once the underside of the frame was finished, it was time to turn it back over and begin work on the top half.

Rust...
...insidious rust
Basically, the work was the same as it was on the other side.  First I had to remove the spots of rust that had spontaneously appeared on all the bits of freshly exposed steel.

Cleaned and sealed
Ready for painting
Next came the top side silicone seal which effectively blocks any moisture from working it's way into the interior via the floor pans.

Primer for the fresh bits...
Undercoating over all
Then, I sprayed some primer on all the bare steel spots and finished off the whole deal with another couple of cans of undercoating.  Even though there were a few spots where the paint wrinkled up a bit, for the most part I got a nice smooth and even coating.

Both sides now
Paint looks good
Although it looks good, it's hardly finished.  I will be putting down some sound-deadening material on the interior side of the floor pans, as well as another thicker silicone seal for the edges that will really make it a tight fit.

Time for the tranny
In without a hitch!
With the frame finally painted, it was time to begin re-assembly.  I started with the transmission.  First I had to fill it with fresh gear oil.  Next I assembled the mounts and cross brace, fit the new rubber nose gasket into the frame and lifted the whole thing into place.  It slid right in and when the big bolts on the front were tightened down, it looked perfect, just like a brand new piece.

Still painting things
Trailing arms are ready to install
The next day, it was on to the trailing arms, which had to be re-painted and installed.  Because I'd done this twice already, it was an easy job.  Both sides went in just before dark.

Front beam repainted
...and reinstalled!
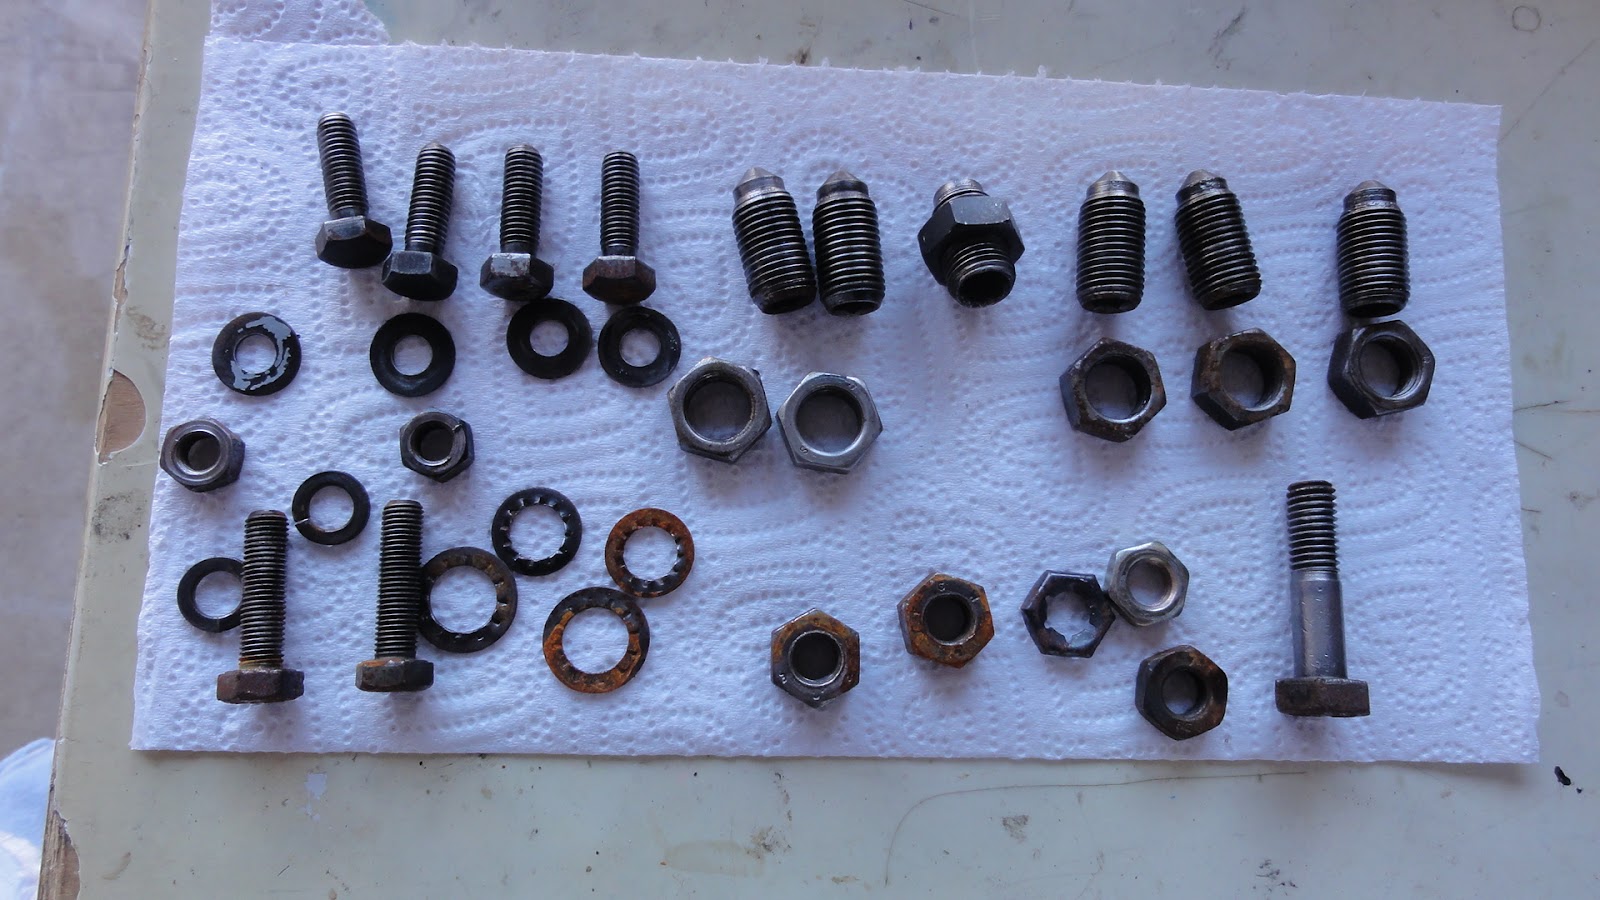
After that, the front beam, also freshly repainted, went back on, with the help of Valery and Madelaine.  Previously I had thought I could just paint the beam and leave a lot of the parts (like the nuts and locking screws) unpainted, but even though we've been in a drought, when it finally rained last month, all those unpainted pieces developed a fine patina of rust.

All the bits were painted
No more rust!
So, I had to carefully wire wheel and sand off all the rust then coated the entire beam with a fresh coat of hard gloss black paint.  I also cleaned up all the bits and pieces, painting them separately before putting them back on.  The end result was most impressive.  It really is starting to take on the quality of a rebuilt machine.  It's not a show car, but all the pieces are there, all painted and perfectly assembled.

Next: driveaxles, re-assembled and installed.

Tuesday, October 4, 2011

Back to Work!

Well, after a three-month hiatus, I finally got back to work on the Ghia this week.  Of course, my excuse has been two-fold: the heat and Valery's absence conspired to prevent me from lifting even a wrench for a dozen weeks or more, so the progress I had been enjoying until June simply ground to a halt.

Much to the relief of both readers of this blog, cooler temperatures and Valery's return have likewise combined to get me back out in the garage and get some grease under my nails.  Though the going is still slow, it is at least going again.

After weeks of cleaning...
...it's as clean as I intend to get it
I picked up pretty much where I left off on the rear end.  The transmission was nearly cleaned when I stopped working, so that's the first thing I tackled.  The surface of the cast aluminum transmission case is very complex, so after a few days of buffing and working it over with a brush, steel wool and some bits of sandpaper, I deemed it 'clean enough' and proceeded to paint it.

Masked and ready for paint.
A nice coat of high-heat black.
Before I could paint it, I had to drain the transmission fluid, both to prepare it for refurbishing and to make sure that there was no metal in the fluid.  This required a trip to the oil change shop up the street to dump out the oil in my container first.  The whole process is a complicated one, with a lot of steps depending on the previous one, and this was no exception.  Once the fluid was drained I repainted the transmission case with some high-temperature black paint and set the whole thing aside, ready for re-installation at last.

A driveaxle ready to be rebuilt.
The universal joint and cover.
Next I turned my attention to the driveaxles.  Having removed them months earlier with a special tool, I knew that these would be among the dirtiest jobs I would have left to deal with, so I left it till last, of course.

The grease is thick and dirty.
Marked for rebuilding.
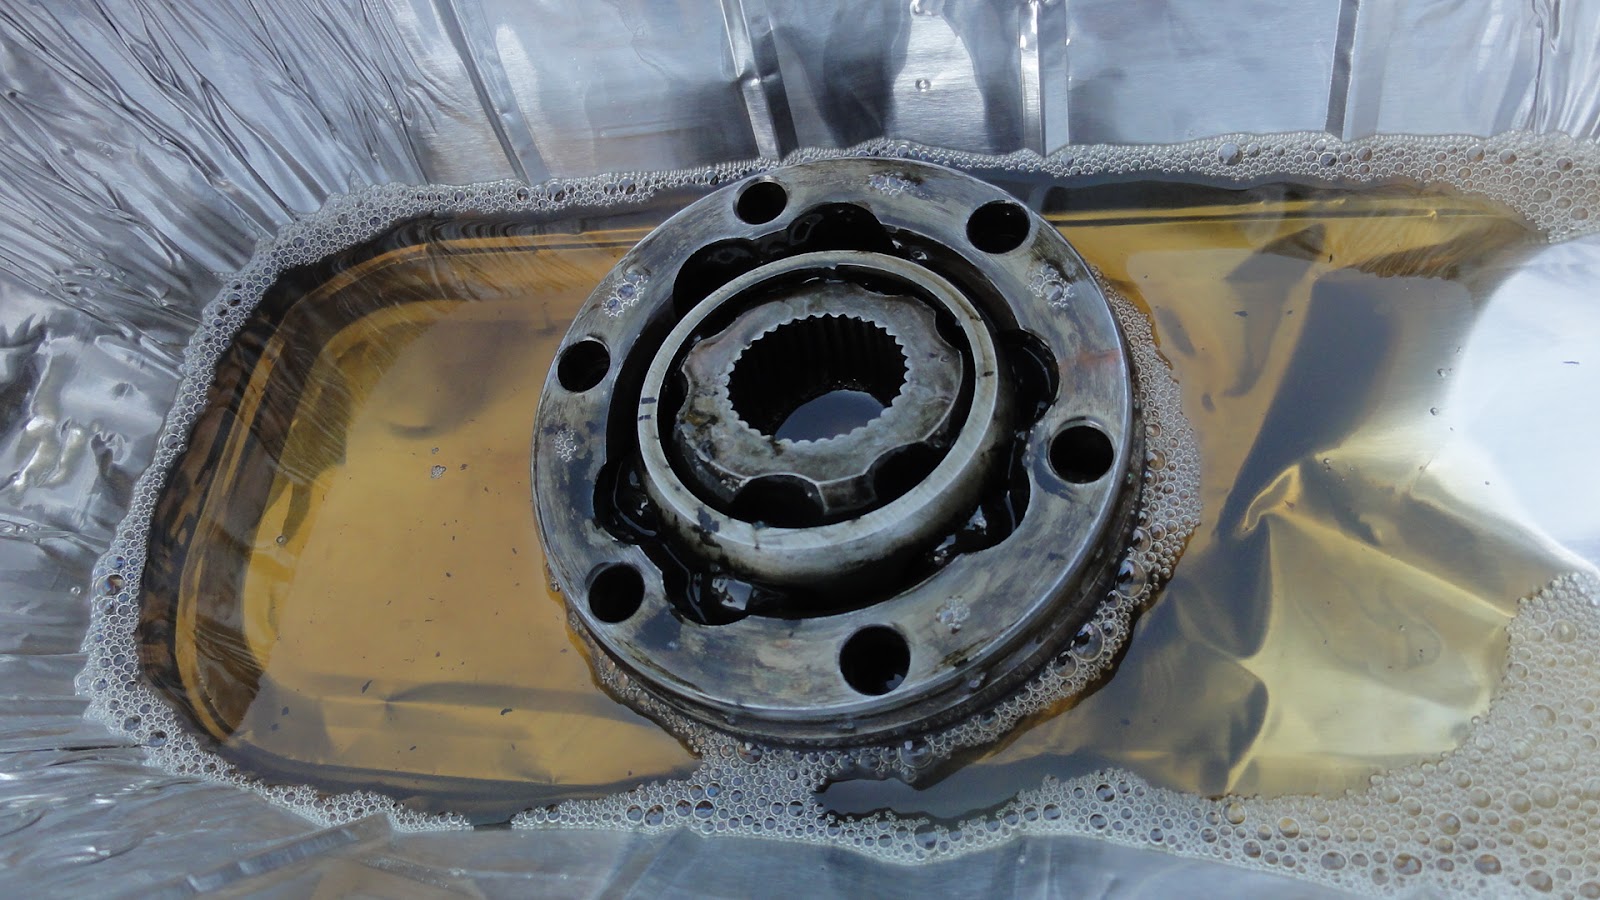
The driveaxles didn't let me down in the dirty department.  Although the grease was dirty, it was mostly viscous and it seemed like the universal joints were going to be re-usable.  After removing the boot collar and the circlip that held the u-joint to the driveshaft, it was a fairly simply matter to drive the u-joint off the shaft.  I put the whole u-joint into some solvent to break up the grease, then proceeded to break it down into the various components: two races, six ball bearings and the a pivoting ball that attaches to the driveshaft splines.

It's hard to tell if this is ok.
A soak in the solvent.
The first universal joint looked ok with all that dirty grease on it, but as soon as I cleaned it up, I discovered that it was no longer serviceable.  Deep pits had formed in the races where the ball bearings had come loose and were banging back an forth.  Although the bearings looked good, it was clear as soon as they fell out that the tolerances were too loose.  The part cots about $75 to replace and there are four of them, so I'd like to re-use them if possible, but they can't be refurbished if the tolerances are too loose.

The bearings look good.
The second u-joint looked very good, and I will be able to re-use it without a problem.  When I tackle the other driveaxle, though, I will find out if I have to buy just another pair of joints or a whole new set of four.

I don't want to put such an important part back in the car unless it works perfectly, and like tires and other parts that come in pairs and quads, it's best to make sure they are all the same, or as close to it as possible.  It doesn't make much sense to come this far and put damaged parts back on the car, so it looks like I will just spend the money and replace all four.

Once step at a time, however.  Next up will be that other driveaxle.

Monday, May 23, 2011

Gearbox

With the trailing arms out and off to the machine shop to receive their new bushings, it was time to pull out the transmission.  I like the British term for this piece better--gearbox--because it sounds racier I guess, but by either name it had to come off the frame for cleaning and inspection.

This is not a difficult job--unless the body and engine are still attached, and even then it's fairly straightforward.  It's attached in just three places, so it was a simple matter to unbolt it and lift it off the frame.  I set up a hydraulic jack underneath just in case, but as it's made of aluminum, after the bolts were out and the shift rod was detached, I was able to simply pull it out and set it off the the side.

The gearbox is dirty but looks to be in good shape.  Although it had a fair amount of crud built up, particularly around the driveaxle connections, it doesn't appear to have been leaking, at least not too much.  The layer of crud is either a bit of grease that oozed from the front seal and has been collecting dirt for thirty-seven years or is just mud and dirt built up in those places you expect it to.  The 'guts' of the gearbox are relatively hard to wear out, so when I check the fluid if it's free of contaminants (especially metal) I will assume that it is ok and just clean it up before putting it back in.  Of course, if there are metal flakes in the fluid, it will be time for a trip to the junkyard.

Speaking of the junkyard, I took the trailing arms in to Austin V-Dub last week to have the bushings replaced and it was a lot more expensive than I thought it would be.  The guy just called to tell me that they are ready and the total came to over $650.  Now, to be fair, $250 of that is actually for the front ball joints, which are being replaced as well.  Although the $400 for the rear trailing arm bushings is a lot of money, I really don't have any choice.  For one thing, the bushings are no longer common, and of course replacing them is no longer a routine machine shop chore.  Fortunately the guy at Austin V-Dub is older and knows what he is doing, which is--of course--a lot more than I can say for myself.

While waiting to save up the money to get my heavy metal parts our of hock next week, I turned my attention to the front beam.  Although I had not intended to pull this off originally, after the work I've done on the rear it seemed like the consistent--if not easiest--thing to do was to pull it off, clean and repaint it.  Just four bolts hold it on, and in just a few minutes my decision proved to be worth it, for the rust and grime I discovered was considerable and I'll feel a lot better about it knowing it's clean and tidy under there, even if no one will ever see it except for me.  This task also meant that my dirty days are not over, as the broken and rusted lower torsion springs left quite a gritty mess inside the tube.  That stuff had to come out, and all the surface grime and rust had to be whisked off the frame with the wire wheel.  Then I  primed and painted the beam, but since I didn't clean up the mounting bracket on the frame, I will have to wait to put it back on this weekend.


That is, if I have time.  I am working all three days so hopefully I will earn enough cash to go get my newly refurbished parts for the following weekend.  Then, watch out!  This baby's going to start going the other way!