Showing posts with label front beam. Show all posts

Monday, January 30, 2012

Front Brakes

The caliper needs to be rebuilt
Parts cleaned and painted
With the driveaxles in and the back of the car now looking very spiffy, it was time to turn my attention back to the front and to the assembly of the front brakes.

I started by rebuilding the brake calipers.  After taking them apart I discovered that the seals were shot, so I ordered a rebuild kit that came with new seals and the snap rings to hold them in.

These front discs are shot
It's all back together
Of course, when I read the directions for the rebuild kit, the first thing it said was "Do not disassemble the two  halves of the caliper."  Hmmm...too late.  I cleaned, buffed and painted the two halves, then put in the new seals, snap rings and bolted them back together.

Backing plates need to be cleaned
New, freshly turned rotors
Next came  the backing plates.  These had to be cleaned, primed and painted before any assembly could commence.  I also painted parts of the new rotors I purchased some months back.  The old rotors were far too pitted and grooved to function properly, so I bought a used set and had them turned on a lathe at Austin VeeDub for $50 apiece.

The new bearing is on
Time to mount the rotor
Once the backing plates were dry and in place, it was time to mount the rotors.  I bought new bearings, so after packing the interior of the rotor with fresh grease, I put in the new bearing sets and slid the whole thing onto the spindle.

Amazingly, it went on without a hitch and it even spins freely.
It works!
Next came the rebuilt calipers.  These, like the rotors, are heavy pieces of steel, so once these parts get put back on the car, it really begins to weigh it down.  It's also beginning to look like a car again!
As is my habit, I somehow managed to put the calipers on the wrong sides at first, and in response to the scraping sounds that it caused, I took them off and switched them around.  Voila!

  It was a perfect fit with no scraping at all.  I also got new brake hoses and brake lines, but these, along with the new master cylinder, will have to wait to go in another day.

Thursday, January 5, 2012

Paint, Transmission and Trailing Arms

Once the underside of the frame was finished, it was time to turn it back over and begin work on the top half.

Rust...
...insidious rust
Basically, the work was the same as it was on the other side.  First I had to remove the spots of rust that had spontaneously appeared on all the bits of freshly exposed steel.

Cleaned and sealed
Ready for painting
Next came the top side silicone seal which effectively blocks any moisture from working it's way into the interior via the floor pans.

Primer for the fresh bits...
Undercoating over all
Then, I sprayed some primer on all the bare steel spots and finished off the whole deal with another couple of cans of undercoating.  Even though there were a few spots where the paint wrinkled up a bit, for the most part I got a nice smooth and even coating.

Both sides now
Paint looks good
Although it looks good, it's hardly finished.  I will be putting down some sound-deadening material on the interior side of the floor pans, as well as another thicker silicone seal for the edges that will really make it a tight fit.

Time for the tranny
In without a hitch!
With the frame finally painted, it was time to begin re-assembly.  I started with the transmission.  First I had to fill it with fresh gear oil.  Next I assembled the mounts and cross brace, fit the new rubber nose gasket into the frame and lifted the whole thing into place.  It slid right in and when the big bolts on the front were tightened down, it looked perfect, just like a brand new piece.

Still painting things
Trailing arms are ready to install
The next day, it was on to the trailing arms, which had to be re-painted and installed.  Because I'd done this twice already, it was an easy job.  Both sides went in just before dark.

Front beam repainted
...and reinstalled!
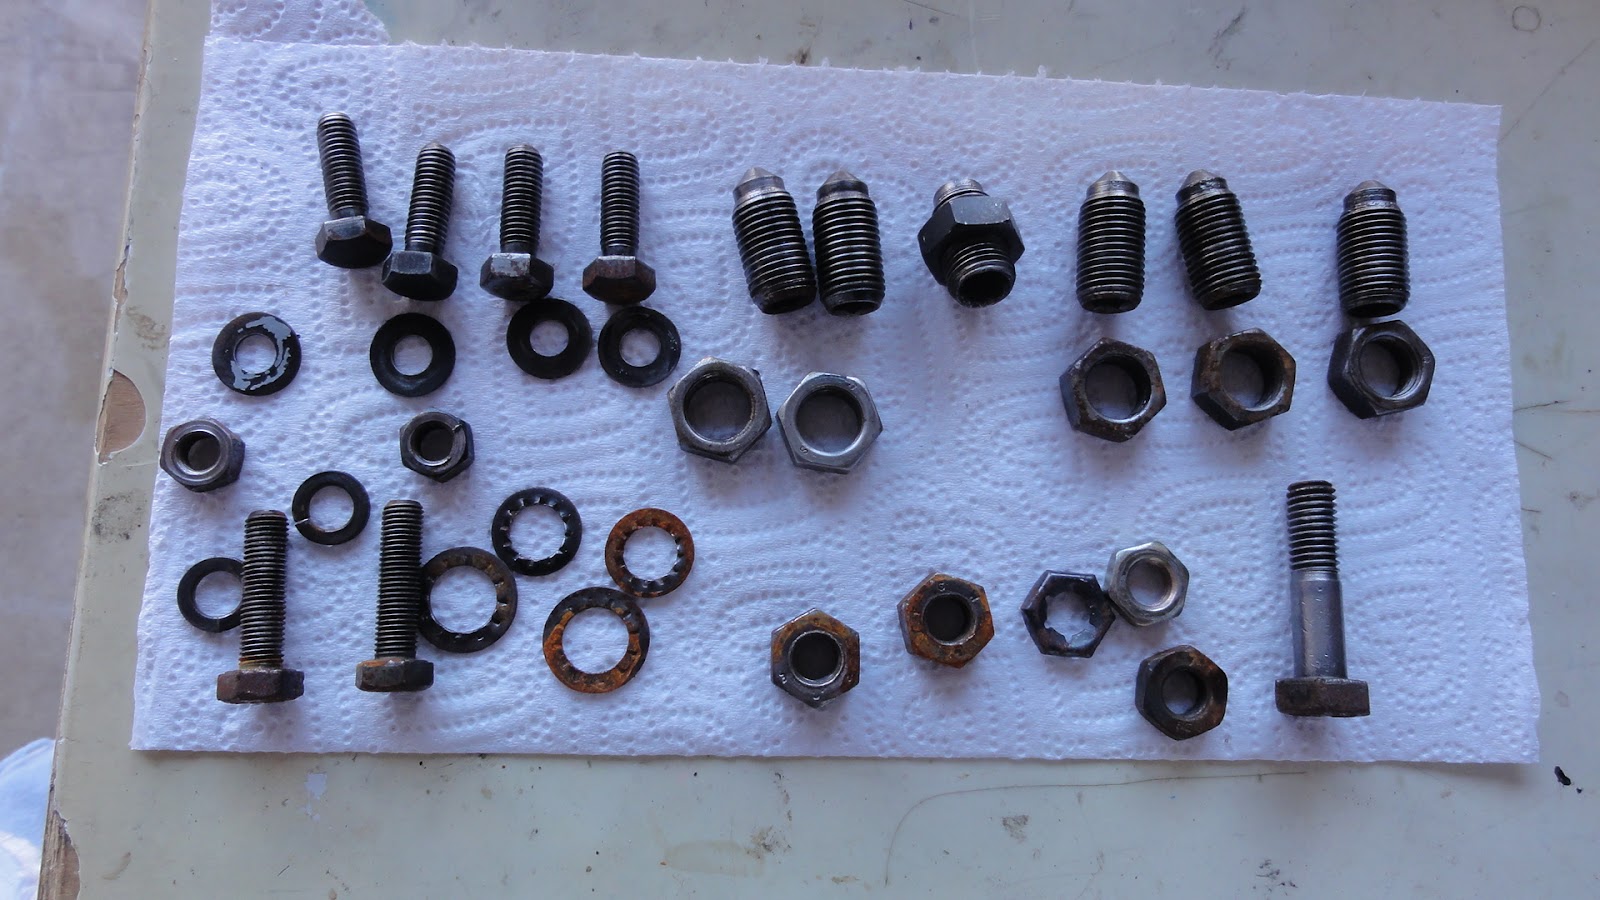
After that, the front beam, also freshly repainted, went back on, with the help of Valery and Madelaine.  Previously I had thought I could just paint the beam and leave a lot of the parts (like the nuts and locking screws) unpainted, but even though we've been in a drought, when it finally rained last month, all those unpainted pieces developed a fine patina of rust.

All the bits were painted
No more rust!
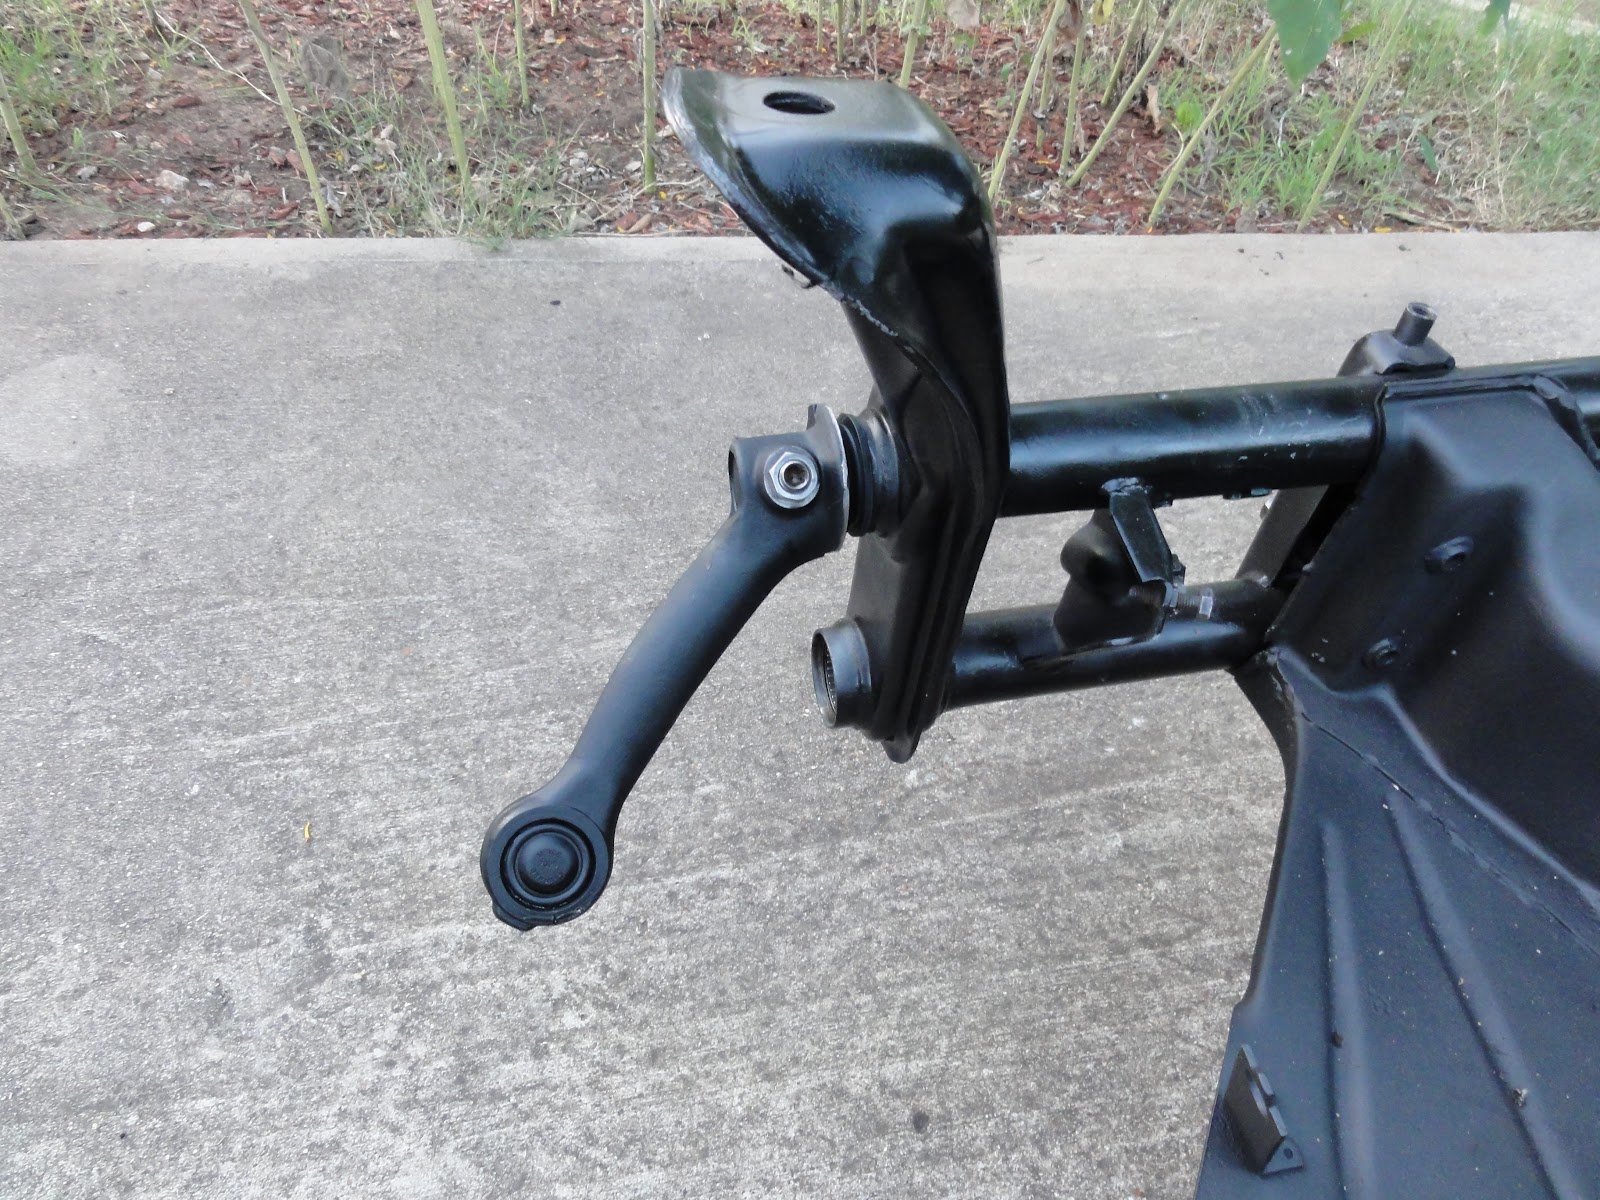
So, I had to carefully wire wheel and sand off all the rust then coated the entire beam with a fresh coat of hard gloss black paint.  I also cleaned up all the bits and pieces, painting them separately before putting them back on.  The end result was most impressive.  It really is starting to take on the quality of a rebuilt machine.  It's not a show car, but all the pieces are there, all painted and perfectly assembled.

Next: driveaxles, re-assembled and installed.

Thursday, June 16, 2011

Front End Fun


Finally it's time to rebuild...
...all the pretty parts are lined up
This was one of the most anticipated and delicious moments of this whole process so far.  I have thus far managed to keep up the momentum in this project by segmenting it, thinking only of the next two or three things that I am going to do on the car.  This not only helps me keep focussed on the practical tasks that will move the car forward, but it keeps me from getting daunted by the enormity of the the entire undertaking.

There are, however, parts of the process that I anticipate and envision long before they are possible, and this helps to keep me dreaming about the finished project.  One of these parts was the front end, which I successfully rebuilt this past weekend.

The first piece back on... 
...is the top torsion arm.
Of course a claim like that requires some qualification, since it wouldn't be accurate to say that I put the whole front end back together.  Rather, I can say that I managed to assemble what I have been calling the 'heavy metal'--the front beam, with it's torsion springs, arms, ball joints, steering box and tie rods.  All these parts form the bouncy parallelogram that is the front suspension, and many of them required more than just a simple buff and paint.  I had the ball joints pressed into the torsion arms a couple of weeks ago, so by now, all they needed was some flat black paint.

The spindles need to be buffed...
...but they cleaned up nicely
The spindles, now free of the ball joints that had held them to the torsion arms for so long, were ready, having been buffed and painted the previous week.  It was a bit tricky mounting them, but with a little upward force on the top arm, they just fit the way it was supposed to.

New ball joints are installed...
...with the spindle between them.
The lower torsion spring set was shot, so I went over to Austin Veedub for a replacement set.  Knowing the terminology now is helpful, since I was able to ask for the right part and the guy even knew what I was looking for.  He set a guy to work on it while I waited.  Soon I heard the sound of rhythmic banging coming from the spot where the guy was supposed to be removing my spring set, and I knew that couldn't be good.

Hmmm. No banging should be required to remove those springs.

Just remove a couple of set-screws and it should just slide right out.  Not sure if the banging was actually related to my quest,  I took Loki out for a drink of water and when I returned, the parts guy had a set of torsion springs out on the counter.

The wrong springs.

I knew this right away and told the guy so.  He looked chagrinned but said "I knew it!  The Boss just came by and told me that these were what you needed, but I didn't think so."  "Well," I said, "You were right.  Now where's your guy working on that set?"  He took me into the back where I found a young mechanic bent over the front end of a shell of a bug.  A long metal pole was sticking out of one end of the lower torsion tube and barely an inch of the springs had emerged from the other side.  I looked at it and could see that the tube itself was bent, and that was what was preventing the springs from coming out.  I told him that the top and bottom springs were identical and that it didn't matter where my set came from, so he quickly loosened the set screws and in less than a minute I was headed to the cashier with my greasy prize.

I felt like a head-hunter emerging from the jungle with my trophy.  Back home, I slid the torsion spring set into the tube as soon as I got it out of the truck.  This was the last, greasiest and dirtiest job I'll have to do for some time.  I expect that I'll face some similarly tough moments in the body rebuild, but this part really symbolized the baseline for this reconstruction.

The steering box needs help...
Fresh grease, please.
After those greasy springs went in, it was time for another semi-dirty job required prior to this rebuild:  cleaning and rebuilding the steering box.  When power-washing the frame a few months back, I inadvertently blew the plastic plugs out of the steering box cover and forced a bunch of water into the box itself, where water is definitely not supposed to be.
New tie rod ends, too.
Tie rods connected to steering
I thought perhaps I had ruined it because the action soon got a bit stiff, but in fact it turns out to be a fairly durable component with a couple of heavy metal gears inside that do not rust easily.  I simply had to remove the top plate, clean out the hydrolyzed gunk and refill it with gear oil.  A quick coat of paint and it was ready to reinstall.  I was careful not to disturb the blocking bolts that limit the reach of the Pitman arm, so it was a simple matter of mounting the box so it hit the two bolts at the end of its reach and bolting it into place.

Once the steering box was back on the front beam, it was time for the rest of the fun, clean work.  This is what I had been looking forward to for so long.  And, it went exactly as I'd hoped.

The long tie rod and new end.
Steering damper, too.
Slowly I was able to fit all the parts back together, carefully buffing and cleaning up each bolt, bracket and nut as I went along.  Some of the parts, like the tie rods, had already been sanded and painted, and just had to install the brand new ends.  I measured the old tie-rods carefully so when I fitted them back in, they dropped in perfectly!

A new front end is installed!
The best part of this whole exercise was this, the final assembly.  I collected all the clean, painted and new pieces and proceeded to put it back together like a big metal model.  After assembling countless models with their decorative little tie-rods and wheel spindles, it was a delight to put together something massive and real.

I love it when that happens.

Next:  Back to the back...

Monday, June 6, 2011

Going the Other Way

Ready to start rebuilding at last
The frame is ready
I have now been working on the Ghia for over ten months, and I can finally say that I have started going the other way.

That is, I am at long last putting parts back on the car instead of the other way around.  The first piece to actually start this process was the freshly cleaned and repainted front beam.

First, of course, we had to turn the frame back over.  This gave me the chance to paint the primed rear suspension pieces, effectively finishing the process of cleaning the frame.

The front end is ready
So, on it goes...
With fresh clean bolts.
It was a real pleasure, putting this piece back on.  I enjoy all the aspects of this project, but it is the reassembly that I have been looking forward to since I bought this rust bucket in September of last year.  Of course, there are still a lot of parts to be cleaned as they get replaced, but I think the dirtiest parts of this job are behind me.

After all the time it took to get it off though, it went back on in just a few minutes.  I elected not to paint the bolts, choosing instead to just hit them with a little clear acrylic after they are tightened up.  This will keep the rust at bay for a little while, anyway.

Next up are what I call the 'heavy metal pieces', the suspension parts like the torsion arms and spindles.  With the new ball joints installed, these need to be buffed and painted before they can return to their original positions.

Torsion arm is cleaned...
...and painted!
I could almost put the whole front suspension back together but for the fact that I am missing those torsion springs that had rotted in the lower front beam tube.  That's a project for next Saturday and a trip to the junkyard.

Next: re-installing the rear trailing arms.

Wednesday, June 1, 2011

Moving in the Right Direction

 With the gearbox out and all the heavy metal off the frame, I am really, finally down to the frame itself.  The rear trailing arms and front torsion arms are at the shop being fitted with new bushings and ball joints, respectively, so what is left just needs to be cleaned and painted before the reassembly can begin.

Honestly, the rust is minimal, confined mostly to the front part of the frame where the master cylinder is located.  Even though the front beam looked pretty gritty, it cleaned up very nicely.  

The next thing to to come off was that beam. At first I thought I wouldn't bother doing this, and just buff/paint it as an assembly, but as I looked closer, it was apparent that it needed to be pulled apart for a proper cleaning.  

I wore out at least one wire wheel and beat up a couple of others in several hours of what, 'whisking'?  It wasn't exactly grinding, but the action was the same, essentially a tedious but very satisfactory experience of removing all the surface dirt and rusty patina from all the edges, tubes, nooks and crannies of the fully exposed frame. After hours with the wire wheel,  I primed and painted it with a semi-gloss high-heat paint.

I wasn't too happy with this finish, because I think the flat black just looks better on all this suspension stuff, but I didn't want to repaint it.  It was nice to buff up all the nuts and bolts that hold the torsion spring in place.  Putting these back was actually the first thing to officially go back together since I started this project back in September of last year.  On such tiny pivots do projects like this turn. 

I cleaned up one of the pivot bolts and put it back as a test to see if the paint was going to prevent a proper fit, and it looks great.  I had thought of painting these bolts another color, but it looks like the standard will be to buff them up and give them a light coat of clear lacquer just to retard the rust patina that will inevitably return.


After buffing and priming the front part of the frame, it was time to flip the whole thing over and clean up the bottom.

This really does represent the baseline, so to speak, of this project.  Once it was over on it's back, I could finally attack the last dirty and rusty surfaces.

More hours of buffing and sanding preceded a nice coat of rust-proof primer (conveniently rust-colored) and a rubberized undercoating to seal the deal.  A few hours of drying and it will be time to flip it back over and begin the reconstruction in earnest.

My goal, as I've said before, is not to fully restore this car as a showpiece, but to refurbish it as a daily driver.  To that end, I want to clean everything up and make sure it all works, but I am not obsessed with making sure the details of the underbody are perfectly painted and polished.

Considering how long it's been since this thing has been down, it is remarkable that it can be brought back to the street at all, so I am focussing on that goal and not letting obsessiveness with unseen and unnecessary detail get in the way of productivity.


Next:  the parts come back from the shop.  They were expensive but worth it...I think.