Showing posts with label floor pans. Show all posts

Tuesday, January 3, 2012

Flipped, Sealed and Undercoated

With the floor pans welded in, my next task was to seal up the gaps left around the welds.

The frame is flipped over
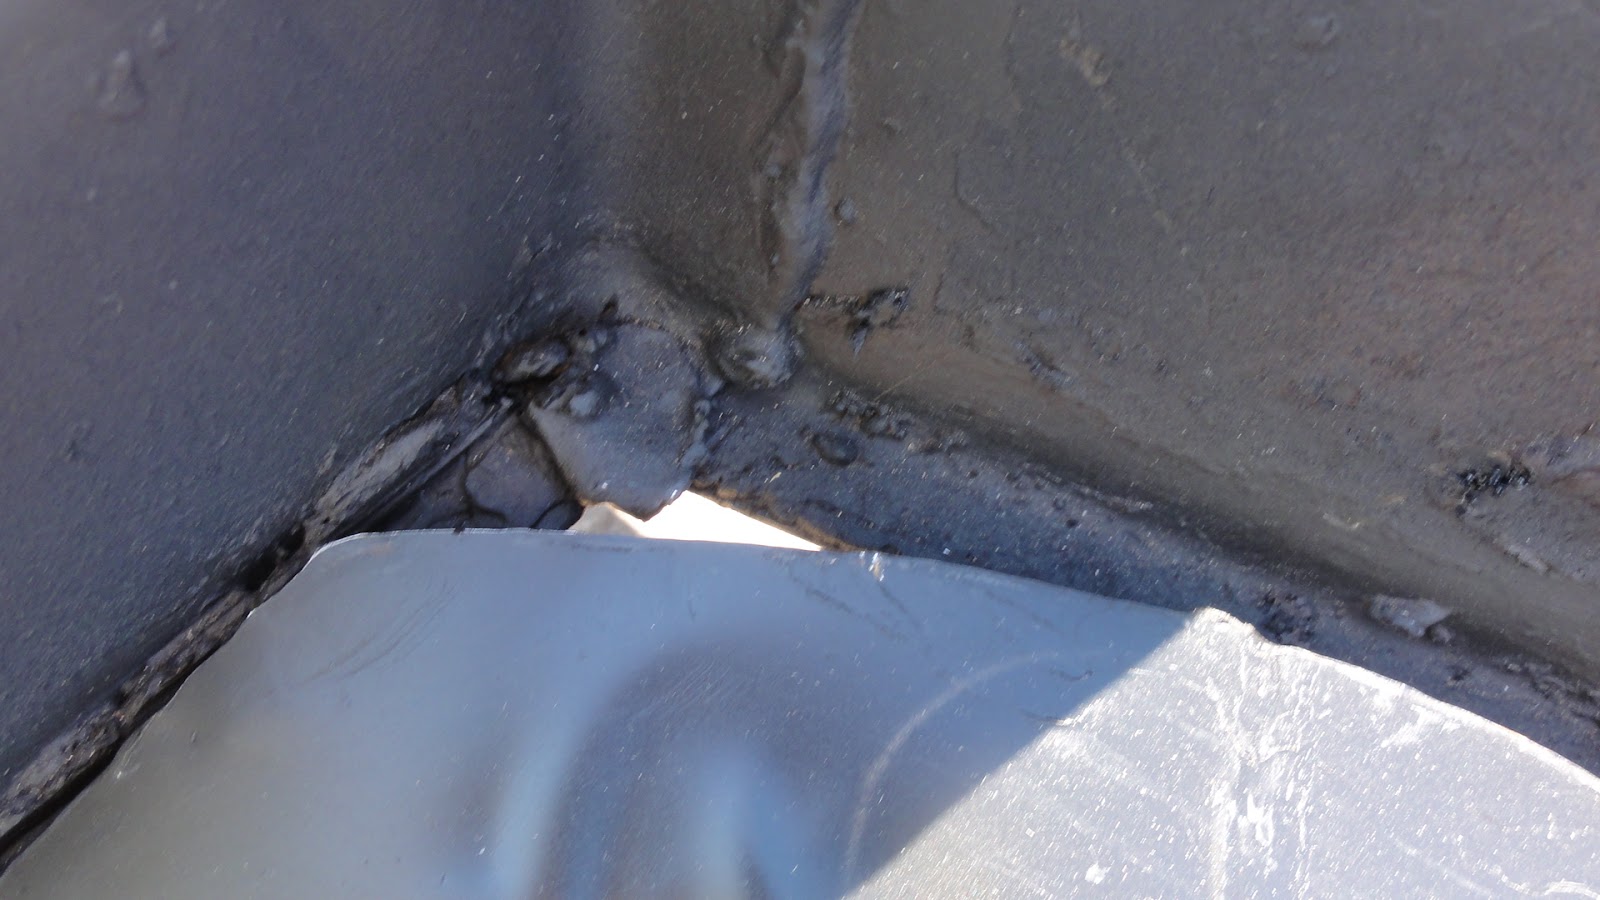
Gap between the center beam and pans 
The pan rests on an inch wide shelf, but even after it was welded in, there was a space between the surface of the pan and the surface of the shelf.

Of course, this has to be sealed, or water will get in and the whole point of replacing the pans will be moot after the first rain.

Rust already
Beam and floor pan intersection
In fact, because it took a couple of weeks (one of which was rainy) to get to this, a very small amount of rust had already formed on the freshly ground and welded spots.  It took some doing but I managed to clean up all the rust and injected a bead of silicone sealant all down the length of the pans on both sides.

The primer cracked on the beam
After primer on the bare steel bits
I'll have to seal up the other side when I turn it back over, but for now it was time for the paint.  It's undercoating, actually, so when it dries it has a sort of rubberized surface that will hopefully resist the chipping and cracking from rock and road debris.  I am going to spray the entire frame with undercoating at this point, leaving the parts that go back to be painted with a more conventional high-gloss black paint.

Sanding it down helped
The new undercoat is smooth
The first coat on the bottom side I put down wasn't really a coat at all, but a targeted use of the primer to cover all the really bare metal spots.  This worked well enough on the bare metal, but when I laid it down on the previously undercoated center beam, the result was a crackled mess.  Resolving not to make matters worse, I elected to just let this dry and when sanded it down lightly before repainting it with undercoating it looked fine.

Even on the center beam
One half is done
I used three cans of undercoating.  One went on the center beam, and the other two went to the sides.  By the time I was finished, it looked better than I had expected.  There were a few wrinkled spots where I hadn't cleaned up some substance or other, but even those spots eventually dried nicely.

Voila! Both sides now!
It really does look slick
It's not like they are going to be visible anyway.  As I've said before, my objective is not a show car, but one that it well assembled, clean and tight.  So far, so good.

Next, we'll turn it back over to seal and paint the other side.  Then it's on to re-assembly.  The freshly repainted front beam and trailing arms will go back on and that transmission, long ago re-painted and now filled with fresh gear oil, will finally be re-installed.

Monday, December 12, 2011

Floor Pans Welded

This was a major milestone.

I know it will seem to you, Dear reader, as though I think that every post is a major milestone, but rest assured, this is one of those actual cases.  After much delay and lots of cutting and grinding, the floor pans have at long last been welded into place.

Like every step along the way it took longer than I expected or wanted.  Although it was incredibly satisfying when completed, welding in the floor pans simply took a lot more time and effort than I expected.  You'd think by now I'd be used to the process of estimating my time and effort, but it always seems to take me by surprise.  Actually it probably more of a function of my over-eager optimism than my ability to effectively estimate how long something will take.

For one thing, it always seems that some of that over-eagerness has to be corrected before I can actually get on with the task at hand.

Cuts in the frame have to be welded
In this case, this preliminary task was repairing the places where I'd cut into the frame while removing the rusted old floor pans. In hindsight, the old pans were so decrepit I could have taken them out with a pair of pliers and a nail clipper, but because I set to the job with a great deal of energy and a cutting wheel, in a brief period I managed to render several long and probably completely unnecessary gashes in the frame at the very point where the new floor pans were set to be welded.  I say 'probably' because it turns out that these cuts were not completely unnecessary, as they did give me the opportunity to practice my welding on some more substantial steel than the floor pans offered before setting a spark to them.

The Millermatic 160
Test welds are pretty bad
For this job I rented a small MIG gas wire welder from Alamo Welding Supply.  Since it was the Thanksgiving weekend, I managed to get the welder for four days for the price of just two, but in the end, because of my work schedule, I was really only able to weld on one of the four days.  It wasn't long but it was enough--barely.

the welds don't look half bad
But when ground down
To my surprise and great delight, the welds I made on the frame were substantially better than those I'd managed to make on the test pieces of steel.  In fact, when I ground them down, you'd could hardly tell that I was not the cool, calm and seasoned professional welder that I claimed to be.  Well, ok, it may not be the best metalwork ever but it did the job and it will be out of sight.  This, I believe, may be my saving grace on all my welds until I get to the body.  But that is another story.

Assembled bits to the side
My three helpers
Another reason I had only one day to weld is because I can never get to the good part--the thing I want to do that day--without having to do some prep work.  In this case, I decided to remove both the front beam and the rear trailing arms in order to lighten the load on the frame and make the whole thing easier to turn over after the floor pans are welded in.  I called on my three helpers, Valery, Madelaine and Loki, and we removed the front beam.  The trailing arms came out easily and I set all these parts to the side as I brought out the floor pans.

Spot welds are the way to go
The first weld in the center
After preparing the contact surfaces between frames and the pans, I set in the pan on the left side, weighed it down with a couple of garden bricks and proceeded to tack-weld it in place.  I put a few spots in the center, then welded down the corners, then went around the pan, gradually filling in small tack welds until I had one about every three inches or so.  I re-learned to weld as I went along slowly.

The back edge
The front corner
Even with a careful pace, I came close to burning through the pans at first.  Then I learned to use the heavier steel of the frame to start the spark, allowing the wire to melt and run down just as I touched the edge of the thin floor pan with the spark.  I learned that the key to a good weld was stopping and pulling back quickly.  This allowed the weld to set as the edge cooled.

One weld at a time
All the way down the frame
Of course, the latter welds look a lot better than the first ones.  I am not going to grind these welds down, mostly because that would weaken them unnecessarily, but also because they are not going to be visible when I am done.  A think layer of silicone sealant will cover the joint, followed by paint, some kind of sound-proofing material and finally, the carpet.  I love to know that the work I've done is good, of course, but as I've said before, my goal is to refurbish, not perfectly restore this car, and this work is certainly up to that standard.

The left side floor pan is welded in!
The second pan, on the passenger side, went in much more quickly, not least because I had squandered most of the late November light and knew that the welder had to be returned the next day, whether or not the floor pans were adequately secured.  What had taken hours on the other side took fewer than thirty minutes on this one.  I think that I finally gained some degree of confidence, which allowed me to move from one weld to the next without a lot of time and/or light to work with.  It was a good feeling, even if it doesn't mean that I am yet able to claim welding as one of my skills.

Rusty bits on the front beam
Next, from both of the sets of parts that I pulled off--the front beam and those trailing arms--I learned that the paint job I'd given them was inadequate.  I cleaned, primed and painted them all flat black.   I see now that I have to paint them with a hard gloss, in order to better protect the surfaces.  Flat black looks cool but it scratches and chips too easily.

Also, my intent to leave the bolt heads unpainted or even covered in clear acrylic was a bad idea.  Even though we've had no rain to speak of, what little moisture there was in the past few months has caused a few tiny bits of rust to form on all the parts that were not actually painted.  So, I will go back and paint everything with a hard gloss enamel.  I'd like to paint the bolt heads another, contrasting color, like green, but I don't have the exact color the body will be and I don't know how good a standard 'Emerald Green' will look.  I'll try a couple of experiments this week.

Before I get to those details, though, I have to flip it over to seal and paint the bottom of the pans and the frame before I start putting all the freshly re-painted goodies back on.

Tuesday, November 15, 2011

Cuttin' and Grindin'

The 'fit' in the back corner
Although hopes and dreams are the point of this journal, I am sometimes guilty of thinking ahead to the next task even before the one at hand is complete.  Such is the case with welding in the floor pans, a job which I somehow thought would be relatively easy and yes, complete by now.  Of course, it is neither.

First of all, I rather casually underestimated the time it would take to cut the floor pans to fit.  Because I went slowly, cutting at most an sixteenth of an inch at a time, I not only took longer than I expected, I also made about ten times more toxic metal shavings that I had to contain and dispose of, and I doubtless irritated my neighbors more than the guy down the street who uses two chainsaws at once to clear brush behind his house.

Cutting off 1/8" at a time
I don't know how he does that, but I do know that I made a hell of a lot of noise ripping up sheet metal in the past two weeks.  The reason I went so slowly is because I didn't want to make a mistake.  The raw shape of the pans is just that, a bit raw, so I had to carefully measure, cut and measure again.  I did this by eye, using masking tape to mark off the strips that needed to be cut off.  Then it was fit, measure and cut again.

And that was for just one side.  It took another week to finish the passenger side.

The old welds have to be ground down
The corner needs to be cleaned
Another part of this process is preparing the frame where the pans will be welded in.  I have roughly ground down the rust and old welds, but I still have some buildup in the corners that I can't seem to get out.  I bought a set of 'carbon steel' grinding bits for my drill which were useless, reduced to smooth steel in about 10 seconds.  The grinding wheel from my angle grinder won't reach in there, so I have to find some other way to carve out steel from a ninety-degree angle.

Some over-zealous cutting on the frame
The rest of the receiving surfaces for the pan are in pretty good shape, except for the places where I sliced through the frame in my over-eager efforts to cut out the old pans.  Had I observed more closely, I might have noticed that the old pans were barely welded in place, and I would not have cut so deeply or nearly so long.  This means that before I can weld in the pans, I'll have to make a few repairs on the frame.

Finally it fits in the back...
...and up front as well!
Before I can even think of welding, I have to get the pans to fit neatly, and after only a few dozen excruciatingly loud cuts, I have both sides fitting pretty neatly.

Next step:  I have to get a welder.

First try with the welder
It welds but crudely
The welder I bought from Harbor Freight proved to be too small and inadequate for the task, even of welding the body pans to the frame.  I did some test welds, and even considering the fact that I had literally not touched a welding machine.  I made some tests, trying both lap and butt welds, and although I was able to make one, very tiny but good lap weld, I was not able to get good results with butt welding the thin body steel. For body work with thin sheet metal, it would have been completely unusable, so I returned it.

Two thin pieces welded
That weld after grinding
I thought perhaps I would just go buy the next model up and from a more reliable U.S. manufacturer, but the choices at the hardware stores also seemed limited to hobby-style welders.  I decided it was time to go talk to a person, and went over to a small locally owned welding supply shop on the East side.  I learned a lot and ended up putting a down payment on a TIG welder.  This type of welder is more powerful and actually easier to use than the little wire-fed model I bought, but it's also a lot more expensive.

Like $1500 expensive.  That's more than I paid for the car itself!

So, I put a down payment on it, thinking that if I pay off a little bit a month, in about a year's time, I can have the welder I want to work on the body.  In the meantime, I only need to rent a welder to put in the body pans.  So now that I've got the pans cut to size, as soon as I have finished grinding down the frame surfaces, it'll be time to weld. 

Tuesday, October 18, 2011

Floor Pans and Welder

While I would not blame either reader for being skeptical of claims that major progress is being made on the Ghia, I am happy to report that I have proof that more--much more actually--than mere contemplation of the task is being done.

...and with them.
The frame without the pans...
In fact, the arrival of the new body pans and a welder to put them in with means that I am now officially putting this thing back together. I know, I said this when assembling the front end, and that was the actual beginning of the rebuild, but this represents a major step forward in the process.

Looks good...
...but it's just an illusion.
It seems that each piece of the refurbishing process is going to cost me about $300, and this was no exception. The two body pans together, delivered from California, cost about $350. I took care to order quality parts, but I was surprised at how thin the metal actually is. I shouldn't be because I can recall how easy it was to bend back the old rusted pans when cutting them out, but I attributed some of that to the poor condition of the metal.

The fit on the inside front...
...and the back inside corner.
Now I see that the floor pans are actually stamped out of a very thin sheet of steel, which would not even support my weight if it were not welded in on one side and bolted to the frame on the other. Interesting, too, how it is that such thin and easily bent bits of metal come together to form a rigid and solid structure. Of course trying to keep the weight down without sacrificing structure is another challenge faced by the designers, and seeing how that is done is always interesting to me.
Outside front...
...and the back.
In any case, I took the two new panels and set them into the spaces intended for them, expecting the worst in terms of fit, but I was very pleasantly surprised. Both sides easily fit, and although there is some adjustment needed, it is a comfort to know that it will just take some patience and a few hours with the grinding wheel to get them to fit exactly.

After that, the real challenge begins: welding.

Now, I have long claimed to be a welder, based on the fact that I worked in that capacity just out of high school for a little over a year. Now a quick calculation by the eager reader will yield a number of years that have passed since I last held a welding torch, but I am sure it's like every other skill I've mastered over the years (like pitching a baseball and putting the eight-ball in the corner pocket at the end of the game) and will come back to me instantly and without flaw.

The welder: 90amp flux core wire MIG
Well, ok, I will need a little practice, but only because I have only one chance to get this right.  If I burn a hole through one of the panels, if I don't completely ruin it, it'll only take that much more skill to fix. I bought a welder for this task, but it's not a very big one, and I am a bit concerned that it's not up to the task.  There's no way to really tell until I get to working on it.  While I think I could benefit from a more expensive welder, I think that just being careful and using the tool correctly will make it possible.