Thursday, January 12, 2012

Driveaxles Named Desire

Ready for the driveaxles
With the front beam, transmission and trailing arms all back on the frame, it was now time to rebuild and install the driveaxles.

Before I could get to that, however, I had one more small detail which I mistakenly thought was going to be no more than a 'cosmetic' re-installation: the cover plates and bushings for the rear torsion bars.

Off by quite a bit
The torsion bar cover
The covers and bushings came right off, but of course the old bushings were all deformed and it did not occur to me that these new bushings would throw off the alignment of the cover plate, but of course, that's exactly what they did.  After a few minutes of frustrated observation I decided that this was one of those 'stuck' moments and I decided to simply put it off until I think of a solution.  I have some ideas, but there is no pressing reason to put these parts back on at the moment, so I'll just let it simmer a bit in the back of my brain.

The new cv joints look good
Especially when on the axle
In the meantime, there is plenty to do, starting with those driveaxles.  I tore down the old ones some weeks back, but concluded that for such important parts of the drivetrain, it was worth the expense of buying brand-new constant-velocity (cv) joints.  The parts I took out look ok, but tolerances run in the thousandth of an inch and given how key these little parts are, I want it to work right the first time.

Ready to assemble
Ready to install
The driveaxles themselves were just fine with a buff and a coat of the rubberized undercoating paint.  I installed the new cv joints and the fresh new rubber boots that cover them, then smashed the graphite grease that came with each joint in and around all the bearings and moving parts.

The gooey mess...
Installed!
Then I had to take the whole sticky gooey mess and mount it into the nice clean space between the transmission and the trailing arms.  This was nearly a disaster, as the cv joints on one end managed to fall apart as I was lifting the other end into place.

Despite the drama...
The scene was straight out of A Streetcar Named Desire:  I was on my knees in the driveway, covered in sticky graphite grease, holding the broken bits of the cv joint, and almost literally weeping with frustration.  Fortunately before the neighbors came running over to find out if I was having a heart attack, I managed to seize control of my emotions and the damned joint, muscling both into position with a great sigh of relief and a furtive look to see who had witnessed the sorry scene. Fortunately it looked like I was alone in my chagrin as I loaded up all the freshly cleaned and buffed bolts (the object of much difficulty on removal).  Before long the driveaxle was officially installed!

The job is done!
As is my habit, this first half of the job was completed just as the sun was going down, so I turned my attention to the other side with no time left on the clock, so to speak.  However, with the experience gained and without the emotional meltdown, I managed to work quickly and efficiently, installing the other driveaxle without incident and just before it was too dark to see.  This sort of thing always leaves me in a state of doubt, but on my return the following morning, I found the work to be done right.  Woot!  I cleaned up the excess grease and checked this task off my list.

Next:  Brake system, beginning with the front rotors and calipers.

Thursday, January 5, 2012

Paint, Transmission and Trailing Arms

Once the underside of the frame was finished, it was time to turn it back over and begin work on the top half.

Rust...
...insidious rust
Basically, the work was the same as it was on the other side.  First I had to remove the spots of rust that had spontaneously appeared on all the bits of freshly exposed steel.

Cleaned and sealed
Ready for painting
Next came the top side silicone seal which effectively blocks any moisture from working it's way into the interior via the floor pans.

Primer for the fresh bits...
Undercoating over all
Then, I sprayed some primer on all the bare steel spots and finished off the whole deal with another couple of cans of undercoating.  Even though there were a few spots where the paint wrinkled up a bit, for the most part I got a nice smooth and even coating.

Both sides now
Paint looks good
Although it looks good, it's hardly finished.  I will be putting down some sound-deadening material on the interior side of the floor pans, as well as another thicker silicone seal for the edges that will really make it a tight fit.

Time for the tranny
In without a hitch!
With the frame finally painted, it was time to begin re-assembly.  I started with the transmission.  First I had to fill it with fresh gear oil.  Next I assembled the mounts and cross brace, fit the new rubber nose gasket into the frame and lifted the whole thing into place.  It slid right in and when the big bolts on the front were tightened down, it looked perfect, just like a brand new piece.

Still painting things
Trailing arms are ready to install
The next day, it was on to the trailing arms, which had to be re-painted and installed.  Because I'd done this twice already, it was an easy job.  Both sides went in just before dark.

Front beam repainted
...and reinstalled!
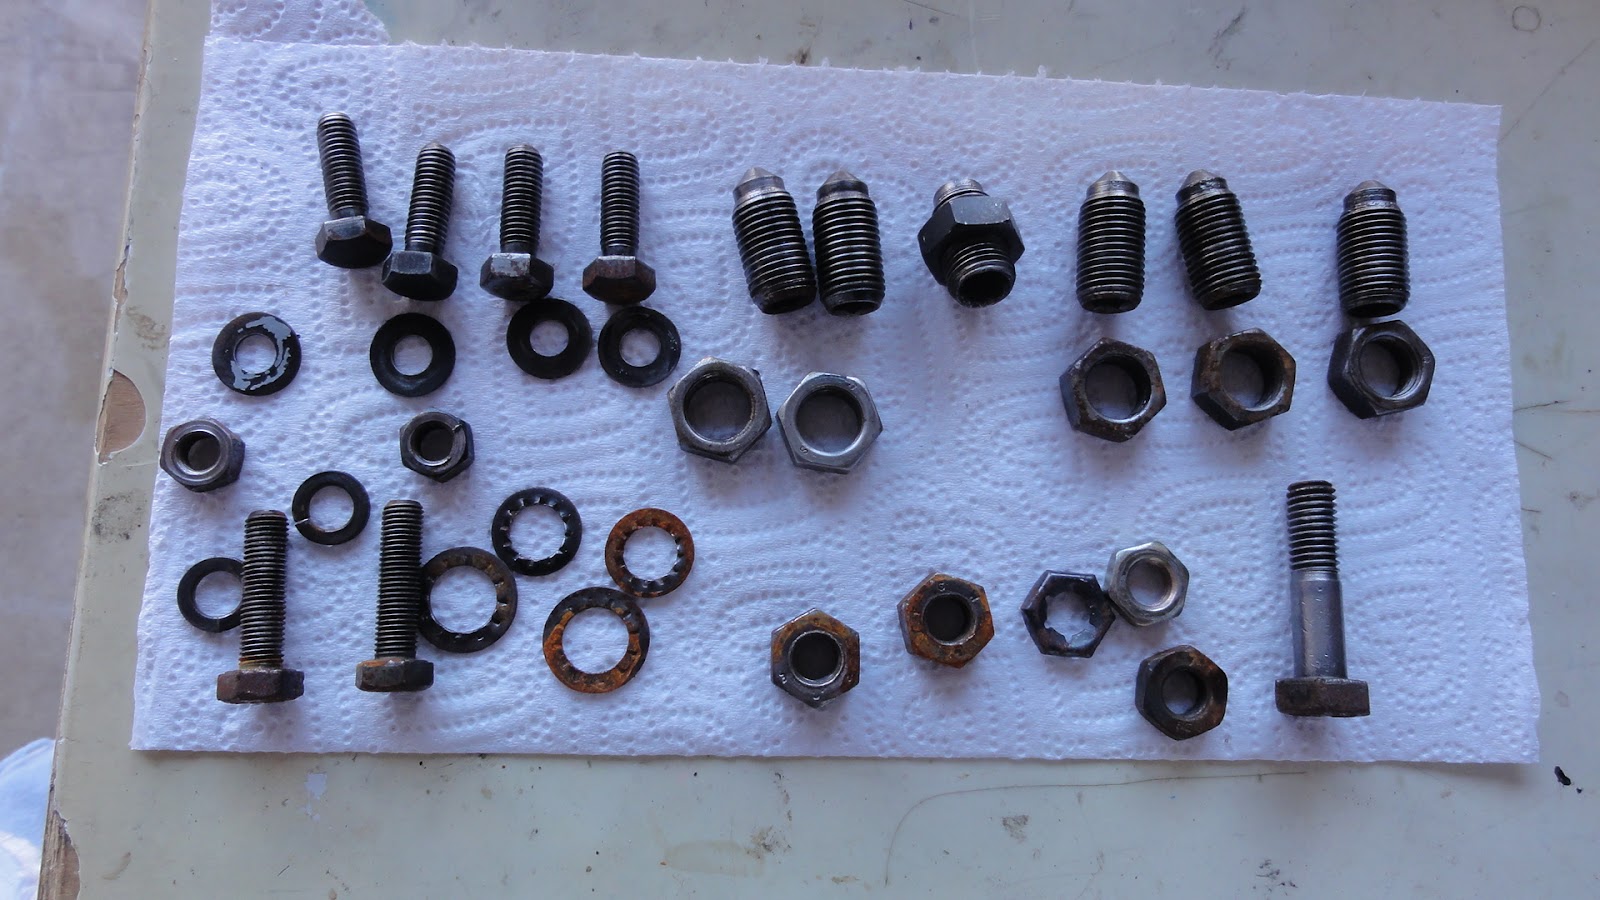
After that, the front beam, also freshly repainted, went back on, with the help of Valery and Madelaine.  Previously I had thought I could just paint the beam and leave a lot of the parts (like the nuts and locking screws) unpainted, but even though we've been in a drought, when it finally rained last month, all those unpainted pieces developed a fine patina of rust.

All the bits were painted
No more rust!
So, I had to carefully wire wheel and sand off all the rust then coated the entire beam with a fresh coat of hard gloss black paint.  I also cleaned up all the bits and pieces, painting them separately before putting them back on.  The end result was most impressive.  It really is starting to take on the quality of a rebuilt machine.  It's not a show car, but all the pieces are there, all painted and perfectly assembled.

Next: driveaxles, re-assembled and installed.

Tuesday, January 3, 2012

Flipped, Sealed and Undercoated

With the floor pans welded in, my next task was to seal up the gaps left around the welds.

The frame is flipped over
Gap between the center beam and pans 
The pan rests on an inch wide shelf, but even after it was welded in, there was a space between the surface of the pan and the surface of the shelf.

Of course, this has to be sealed, or water will get in and the whole point of replacing the pans will be moot after the first rain.

Rust already
Beam and floor pan intersection
In fact, because it took a couple of weeks (one of which was rainy) to get to this, a very small amount of rust had already formed on the freshly ground and welded spots.  It took some doing but I managed to clean up all the rust and injected a bead of silicone sealant all down the length of the pans on both sides.

The primer cracked on the beam
After primer on the bare steel bits
I'll have to seal up the other side when I turn it back over, but for now it was time for the paint.  It's undercoating, actually, so when it dries it has a sort of rubberized surface that will hopefully resist the chipping and cracking from rock and road debris.  I am going to spray the entire frame with undercoating at this point, leaving the parts that go back to be painted with a more conventional high-gloss black paint.

Sanding it down helped
The new undercoat is smooth
The first coat on the bottom side I put down wasn't really a coat at all, but a targeted use of the primer to cover all the really bare metal spots.  This worked well enough on the bare metal, but when I laid it down on the previously undercoated center beam, the result was a crackled mess.  Resolving not to make matters worse, I elected to just let this dry and when sanded it down lightly before repainting it with undercoating it looked fine.

Even on the center beam
One half is done
I used three cans of undercoating.  One went on the center beam, and the other two went to the sides.  By the time I was finished, it looked better than I had expected.  There were a few wrinkled spots where I hadn't cleaned up some substance or other, but even those spots eventually dried nicely.

Voila! Both sides now!
It really does look slick
It's not like they are going to be visible anyway.  As I've said before, my objective is not a show car, but one that it well assembled, clean and tight.  So far, so good.

Next, we'll turn it back over to seal and paint the other side.  Then it's on to re-assembly.  The freshly repainted front beam and trailing arms will go back on and that transmission, long ago re-painted and now filled with fresh gear oil, will finally be re-installed.

Monday, December 12, 2011

Floor Pans Welded

This was a major milestone.

I know it will seem to you, Dear reader, as though I think that every post is a major milestone, but rest assured, this is one of those actual cases.  After much delay and lots of cutting and grinding, the floor pans have at long last been welded into place.

Like every step along the way it took longer than I expected or wanted.  Although it was incredibly satisfying when completed, welding in the floor pans simply took a lot more time and effort than I expected.  You'd think by now I'd be used to the process of estimating my time and effort, but it always seems to take me by surprise.  Actually it probably more of a function of my over-eager optimism than my ability to effectively estimate how long something will take.

For one thing, it always seems that some of that over-eagerness has to be corrected before I can actually get on with the task at hand.

Cuts in the frame have to be welded
In this case, this preliminary task was repairing the places where I'd cut into the frame while removing the rusted old floor pans. In hindsight, the old pans were so decrepit I could have taken them out with a pair of pliers and a nail clipper, but because I set to the job with a great deal of energy and a cutting wheel, in a brief period I managed to render several long and probably completely unnecessary gashes in the frame at the very point where the new floor pans were set to be welded.  I say 'probably' because it turns out that these cuts were not completely unnecessary, as they did give me the opportunity to practice my welding on some more substantial steel than the floor pans offered before setting a spark to them.

The Millermatic 160
Test welds are pretty bad
For this job I rented a small MIG gas wire welder from Alamo Welding Supply.  Since it was the Thanksgiving weekend, I managed to get the welder for four days for the price of just two, but in the end, because of my work schedule, I was really only able to weld on one of the four days.  It wasn't long but it was enough--barely.

the welds don't look half bad
But when ground down
To my surprise and great delight, the welds I made on the frame were substantially better than those I'd managed to make on the test pieces of steel.  In fact, when I ground them down, you'd could hardly tell that I was not the cool, calm and seasoned professional welder that I claimed to be.  Well, ok, it may not be the best metalwork ever but it did the job and it will be out of sight.  This, I believe, may be my saving grace on all my welds until I get to the body.  But that is another story.

Assembled bits to the side
My three helpers
Another reason I had only one day to weld is because I can never get to the good part--the thing I want to do that day--without having to do some prep work.  In this case, I decided to remove both the front beam and the rear trailing arms in order to lighten the load on the frame and make the whole thing easier to turn over after the floor pans are welded in.  I called on my three helpers, Valery, Madelaine and Loki, and we removed the front beam.  The trailing arms came out easily and I set all these parts to the side as I brought out the floor pans.

Spot welds are the way to go
The first weld in the center
After preparing the contact surfaces between frames and the pans, I set in the pan on the left side, weighed it down with a couple of garden bricks and proceeded to tack-weld it in place.  I put a few spots in the center, then welded down the corners, then went around the pan, gradually filling in small tack welds until I had one about every three inches or so.  I re-learned to weld as I went along slowly.

The back edge
The front corner
Even with a careful pace, I came close to burning through the pans at first.  Then I learned to use the heavier steel of the frame to start the spark, allowing the wire to melt and run down just as I touched the edge of the thin floor pan with the spark.  I learned that the key to a good weld was stopping and pulling back quickly.  This allowed the weld to set as the edge cooled.

One weld at a time
All the way down the frame
Of course, the latter welds look a lot better than the first ones.  I am not going to grind these welds down, mostly because that would weaken them unnecessarily, but also because they are not going to be visible when I am done.  A think layer of silicone sealant will cover the joint, followed by paint, some kind of sound-proofing material and finally, the carpet.  I love to know that the work I've done is good, of course, but as I've said before, my goal is to refurbish, not perfectly restore this car, and this work is certainly up to that standard.

The left side floor pan is welded in!
The second pan, on the passenger side, went in much more quickly, not least because I had squandered most of the late November light and knew that the welder had to be returned the next day, whether or not the floor pans were adequately secured.  What had taken hours on the other side took fewer than thirty minutes on this one.  I think that I finally gained some degree of confidence, which allowed me to move from one weld to the next without a lot of time and/or light to work with.  It was a good feeling, even if it doesn't mean that I am yet able to claim welding as one of my skills.

Rusty bits on the front beam
Next, from both of the sets of parts that I pulled off--the front beam and those trailing arms--I learned that the paint job I'd given them was inadequate.  I cleaned, primed and painted them all flat black.   I see now that I have to paint them with a hard gloss, in order to better protect the surfaces.  Flat black looks cool but it scratches and chips too easily.

Also, my intent to leave the bolt heads unpainted or even covered in clear acrylic was a bad idea.  Even though we've had no rain to speak of, what little moisture there was in the past few months has caused a few tiny bits of rust to form on all the parts that were not actually painted.  So, I will go back and paint everything with a hard gloss enamel.  I'd like to paint the bolt heads another, contrasting color, like green, but I don't have the exact color the body will be and I don't know how good a standard 'Emerald Green' will look.  I'll try a couple of experiments this week.

Before I get to those details, though, I have to flip it over to seal and paint the bottom of the pans and the frame before I start putting all the freshly re-painted goodies back on.