Tuesday, October 18, 2011

Floor Pans and Welder

While I would not blame either reader for being skeptical of claims that major progress is being made on the Ghia, I am happy to report that I have proof that more--much more actually--than mere contemplation of the task is being done.

...and with them.
The frame without the pans...
In fact, the arrival of the new body pans and a welder to put them in with means that I am now officially putting this thing back together. I know, I said this when assembling the front end, and that was the actual beginning of the rebuild, but this represents a major step forward in the process.

Looks good...
...but it's just an illusion.
It seems that each piece of the refurbishing process is going to cost me about $300, and this was no exception. The two body pans together, delivered from California, cost about $350. I took care to order quality parts, but I was surprised at how thin the metal actually is. I shouldn't be because I can recall how easy it was to bend back the old rusted pans when cutting them out, but I attributed some of that to the poor condition of the metal.

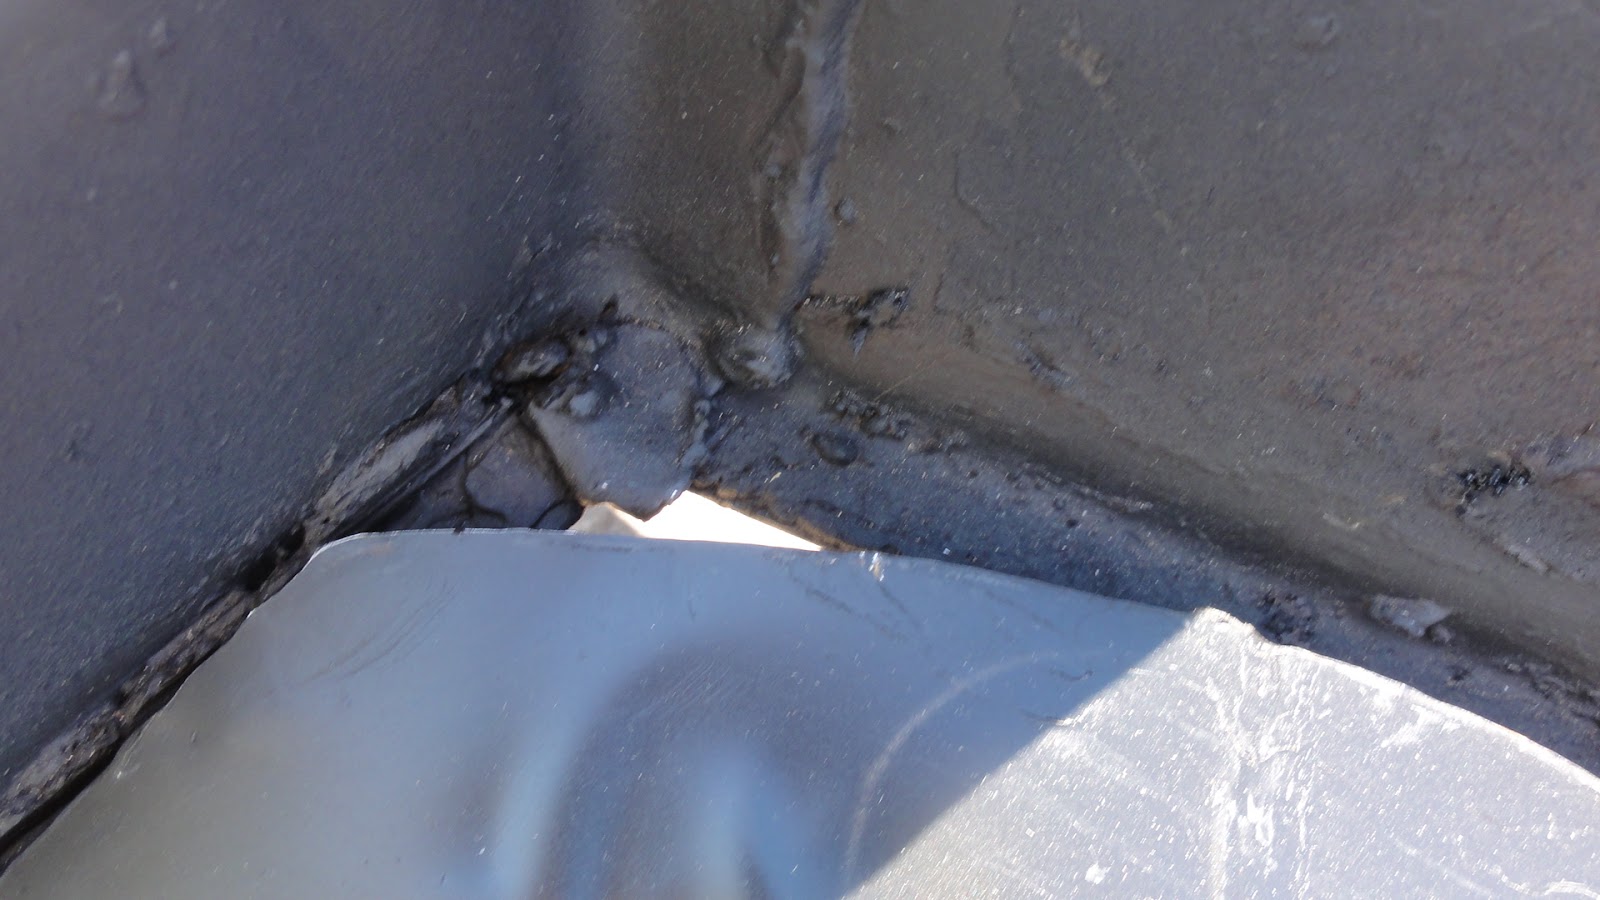
The fit on the inside front...
...and the back inside corner.
Now I see that the floor pans are actually stamped out of a very thin sheet of steel, which would not even support my weight if it were not welded in on one side and bolted to the frame on the other. Interesting, too, how it is that such thin and easily bent bits of metal come together to form a rigid and solid structure. Of course trying to keep the weight down without sacrificing structure is another challenge faced by the designers, and seeing how that is done is always interesting to me.
Outside front...
...and the back.
In any case, I took the two new panels and set them into the spaces intended for them, expecting the worst in terms of fit, but I was very pleasantly surprised. Both sides easily fit, and although there is some adjustment needed, it is a comfort to know that it will just take some patience and a few hours with the grinding wheel to get them to fit exactly.

After that, the real challenge begins: welding.

Now, I have long claimed to be a welder, based on the fact that I worked in that capacity just out of high school for a little over a year. Now a quick calculation by the eager reader will yield a number of years that have passed since I last held a welding torch, but I am sure it's like every other skill I've mastered over the years (like pitching a baseball and putting the eight-ball in the corner pocket at the end of the game) and will come back to me instantly and without flaw.

The welder: 90amp flux core wire MIG
Well, ok, I will need a little practice, but only because I have only one chance to get this right.  If I burn a hole through one of the panels, if I don't completely ruin it, it'll only take that much more skill to fix. I bought a welder for this task, but it's not a very big one, and I am a bit concerned that it's not up to the task.  There's no way to really tell until I get to working on it.  While I think I could benefit from a more expensive welder, I think that just being careful and using the tool correctly will make it possible.

Tuesday, October 4, 2011

Back to Work!

Well, after a three-month hiatus, I finally got back to work on the Ghia this week.  Of course, my excuse has been two-fold: the heat and Valery's absence conspired to prevent me from lifting even a wrench for a dozen weeks or more, so the progress I had been enjoying until June simply ground to a halt.

Much to the relief of both readers of this blog, cooler temperatures and Valery's return have likewise combined to get me back out in the garage and get some grease under my nails.  Though the going is still slow, it is at least going again.

After weeks of cleaning...
...it's as clean as I intend to get it
I picked up pretty much where I left off on the rear end.  The transmission was nearly cleaned when I stopped working, so that's the first thing I tackled.  The surface of the cast aluminum transmission case is very complex, so after a few days of buffing and working it over with a brush, steel wool and some bits of sandpaper, I deemed it 'clean enough' and proceeded to paint it.

Masked and ready for paint.
A nice coat of high-heat black.
Before I could paint it, I had to drain the transmission fluid, both to prepare it for refurbishing and to make sure that there was no metal in the fluid.  This required a trip to the oil change shop up the street to dump out the oil in my container first.  The whole process is a complicated one, with a lot of steps depending on the previous one, and this was no exception.  Once the fluid was drained I repainted the transmission case with some high-temperature black paint and set the whole thing aside, ready for re-installation at last.

A driveaxle ready to be rebuilt.
The universal joint and cover.
Next I turned my attention to the driveaxles.  Having removed them months earlier with a special tool, I knew that these would be among the dirtiest jobs I would have left to deal with, so I left it till last, of course.

The grease is thick and dirty.
Marked for rebuilding.
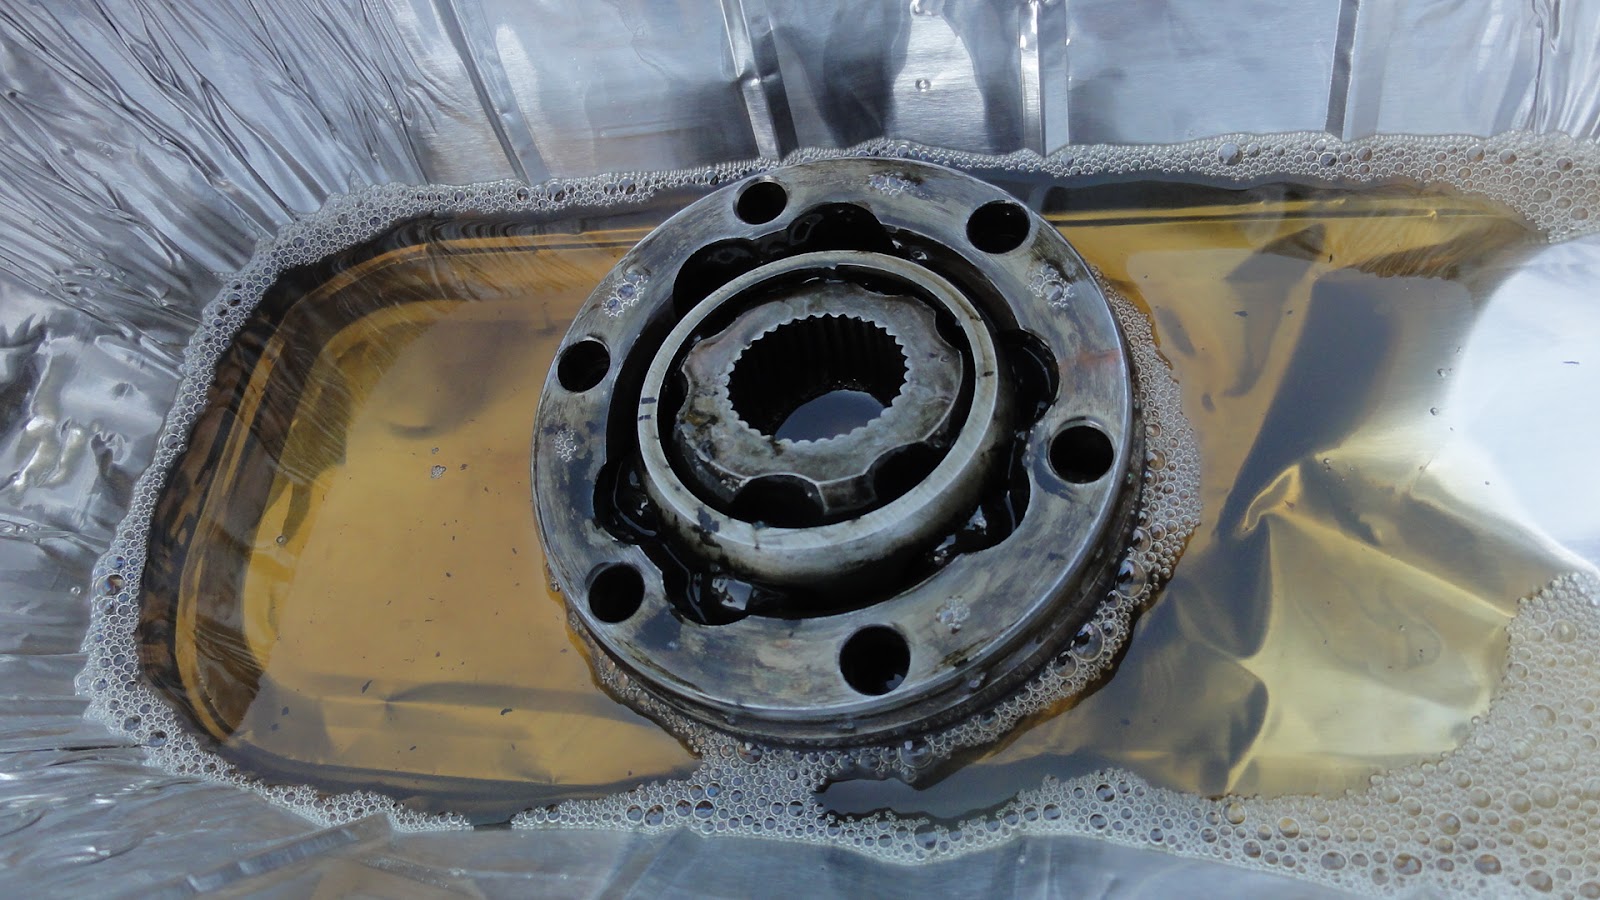
The driveaxles didn't let me down in the dirty department.  Although the grease was dirty, it was mostly viscous and it seemed like the universal joints were going to be re-usable.  After removing the boot collar and the circlip that held the u-joint to the driveshaft, it was a fairly simply matter to drive the u-joint off the shaft.  I put the whole u-joint into some solvent to break up the grease, then proceeded to break it down into the various components: two races, six ball bearings and the a pivoting ball that attaches to the driveshaft splines.

It's hard to tell if this is ok.
A soak in the solvent.
The first universal joint looked ok with all that dirty grease on it, but as soon as I cleaned it up, I discovered that it was no longer serviceable.  Deep pits had formed in the races where the ball bearings had come loose and were banging back an forth.  Although the bearings looked good, it was clear as soon as they fell out that the tolerances were too loose.  The part cots about $75 to replace and there are four of them, so I'd like to re-use them if possible, but they can't be refurbished if the tolerances are too loose.

The bearings look good.
The second u-joint looked very good, and I will be able to re-use it without a problem.  When I tackle the other driveaxle, though, I will find out if I have to buy just another pair of joints or a whole new set of four.

I don't want to put such an important part back in the car unless it works perfectly, and like tires and other parts that come in pairs and quads, it's best to make sure they are all the same, or as close to it as possible.  It doesn't make much sense to come this far and put damaged parts back on the car, so it looks like I will just spend the money and replace all four.

Once step at a time, however.  Next up will be that other driveaxle.

Monday, August 8, 2011

Too Hot to Touch


The last time I was able to work it was in the 90s
Well, there is no progress to report because I just haven't been able to work on the Ghia in over two months.

One reason for this has been the weather. This has been one of the hottest, driest summers on record here in Austin, and it's made working on the car almost impossible.

It's just too damn hot.

Now, I am a Texas boy, and I am used to the heat.  Hell, I love the heat!  I even love the Dog Days of August.  After all, I was born in the middle of August, so this time of year is really my favorite.
But this year, whew! We've now had over 60 days of triple-digit heat here in Austin; over twenty-three days in a row, and the first week of August the high temperature was 105 or higher.  Our electric bill is up and the lake is down.

Working on metal, even in the shade, is not something I'd recommend during a triple-digit heat wave.  The recommended temperature range for paint peaks at about 100 degrees, so I even if I can clean a part and get it ready for paint, I can't actually put a coat of primer on a piece of steel that's been sitting in the sun for longer than a few seconds.  Hell, I can't even pick up a piece of steel that's been sitting in the sun that long.

Of course, even if the weather was cooler, I would probably not have done a thing anyway, considering that my Bride has been away for nearly three months now, and I just haven't got the wherewithal to shop cook and work on the car in the evenings.  I know, that's a particularly lame excuse, but it happens to be true.  I guess if I could stomach some fryer grease with my automotive grease, I could just shovel down a burger in the shop as I work, but it has come down to a choice, dinner or the car, and these days, I am choosing the former.

The weather is likely to break here and my Bride is likely to return in another month or so, so I may be back in the shop by the end of September.

Thursday, June 16, 2011

Front End Fun


Finally it's time to rebuild...
...all the pretty parts are lined up
This was one of the most anticipated and delicious moments of this whole process so far.  I have thus far managed to keep up the momentum in this project by segmenting it, thinking only of the next two or three things that I am going to do on the car.  This not only helps me keep focussed on the practical tasks that will move the car forward, but it keeps me from getting daunted by the enormity of the the entire undertaking.

There are, however, parts of the process that I anticipate and envision long before they are possible, and this helps to keep me dreaming about the finished project.  One of these parts was the front end, which I successfully rebuilt this past weekend.

The first piece back on... 
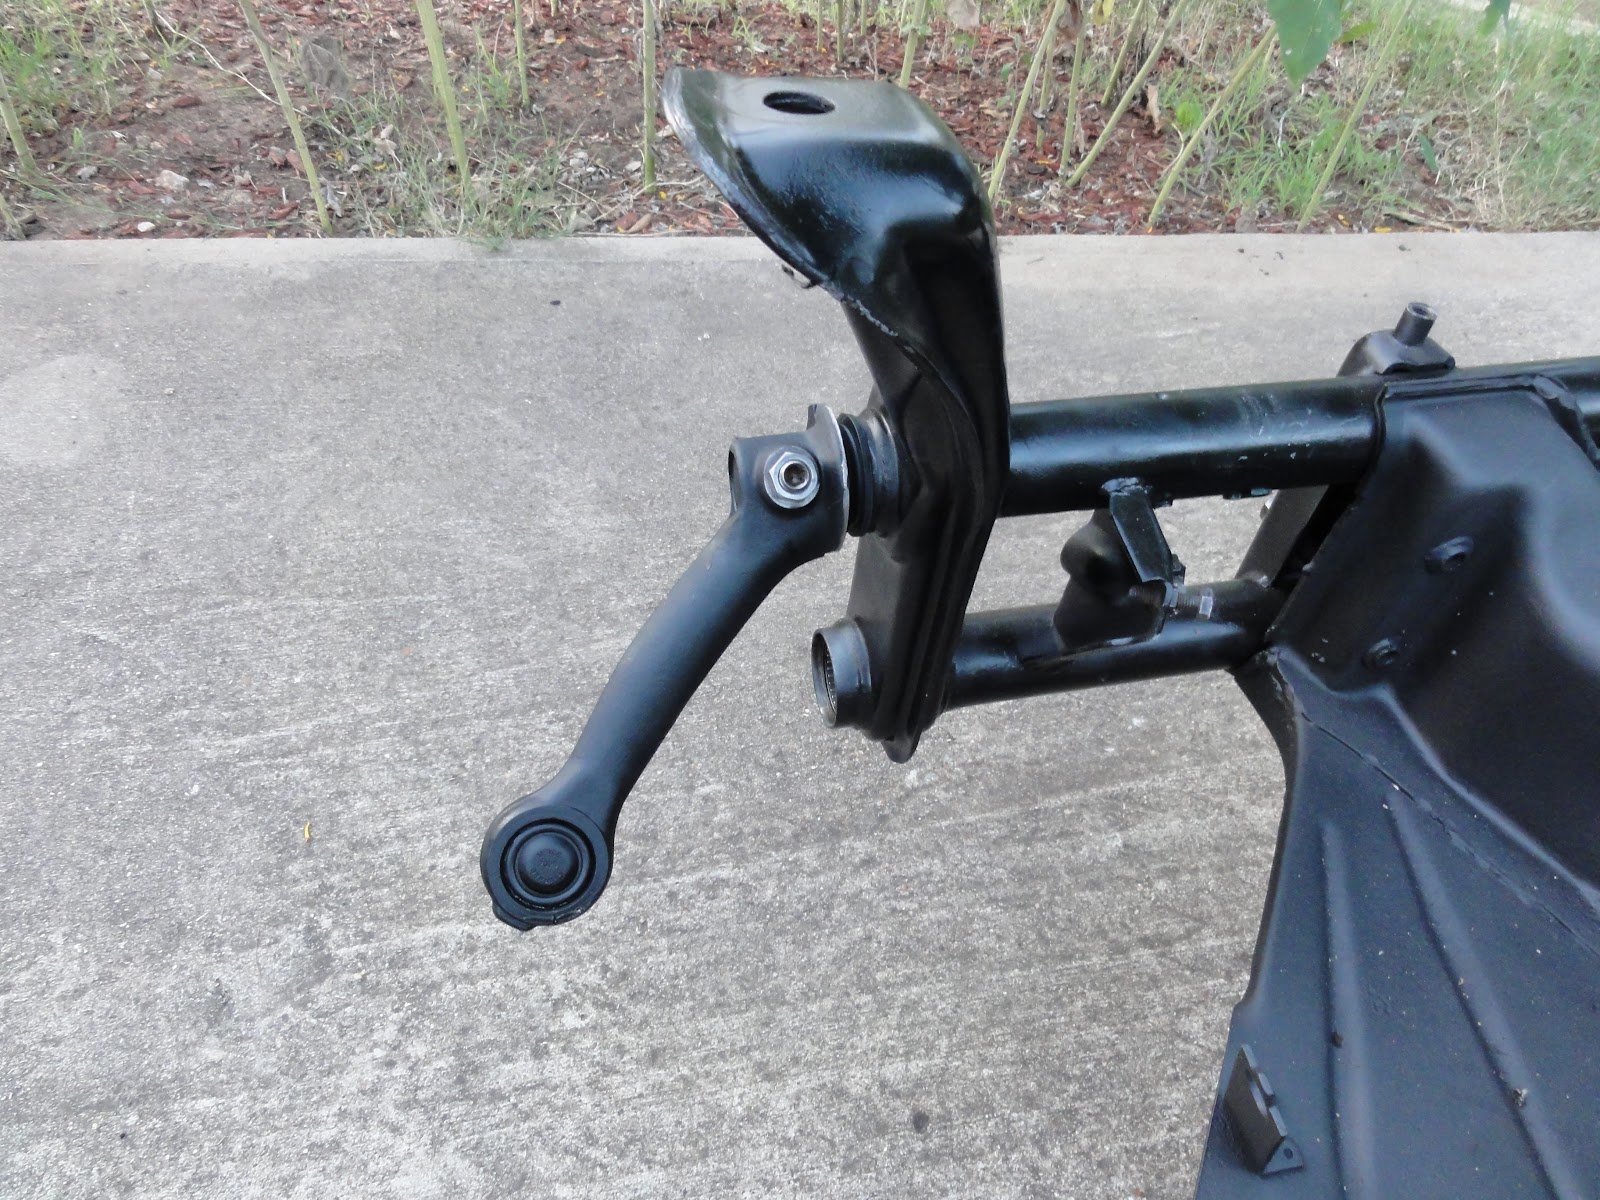
...is the top torsion arm.
Of course a claim like that requires some qualification, since it wouldn't be accurate to say that I put the whole front end back together.  Rather, I can say that I managed to assemble what I have been calling the 'heavy metal'--the front beam, with it's torsion springs, arms, ball joints, steering box and tie rods.  All these parts form the bouncy parallelogram that is the front suspension, and many of them required more than just a simple buff and paint.  I had the ball joints pressed into the torsion arms a couple of weeks ago, so by now, all they needed was some flat black paint.

The spindles need to be buffed...
...but they cleaned up nicely
The spindles, now free of the ball joints that had held them to the torsion arms for so long, were ready, having been buffed and painted the previous week.  It was a bit tricky mounting them, but with a little upward force on the top arm, they just fit the way it was supposed to.

New ball joints are installed...
...with the spindle between them.
The lower torsion spring set was shot, so I went over to Austin Veedub for a replacement set.  Knowing the terminology now is helpful, since I was able to ask for the right part and the guy even knew what I was looking for.  He set a guy to work on it while I waited.  Soon I heard the sound of rhythmic banging coming from the spot where the guy was supposed to be removing my spring set, and I knew that couldn't be good.

Hmmm. No banging should be required to remove those springs.

Just remove a couple of set-screws and it should just slide right out.  Not sure if the banging was actually related to my quest,  I took Loki out for a drink of water and when I returned, the parts guy had a set of torsion springs out on the counter.

The wrong springs.

I knew this right away and told the guy so.  He looked chagrinned but said "I knew it!  The Boss just came by and told me that these were what you needed, but I didn't think so."  "Well," I said, "You were right.  Now where's your guy working on that set?"  He took me into the back where I found a young mechanic bent over the front end of a shell of a bug.  A long metal pole was sticking out of one end of the lower torsion tube and barely an inch of the springs had emerged from the other side.  I looked at it and could see that the tube itself was bent, and that was what was preventing the springs from coming out.  I told him that the top and bottom springs were identical and that it didn't matter where my set came from, so he quickly loosened the set screws and in less than a minute I was headed to the cashier with my greasy prize.

I felt like a head-hunter emerging from the jungle with my trophy.  Back home, I slid the torsion spring set into the tube as soon as I got it out of the truck.  This was the last, greasiest and dirtiest job I'll have to do for some time.  I expect that I'll face some similarly tough moments in the body rebuild, but this part really symbolized the baseline for this reconstruction.

The steering box needs help...
Fresh grease, please.
After those greasy springs went in, it was time for another semi-dirty job required prior to this rebuild:  cleaning and rebuilding the steering box.  When power-washing the frame a few months back, I inadvertently blew the plastic plugs out of the steering box cover and forced a bunch of water into the box itself, where water is definitely not supposed to be.
New tie rod ends, too.
Tie rods connected to steering
I thought perhaps I had ruined it because the action soon got a bit stiff, but in fact it turns out to be a fairly durable component with a couple of heavy metal gears inside that do not rust easily.  I simply had to remove the top plate, clean out the hydrolyzed gunk and refill it with gear oil.  A quick coat of paint and it was ready to reinstall.  I was careful not to disturb the blocking bolts that limit the reach of the Pitman arm, so it was a simple matter of mounting the box so it hit the two bolts at the end of its reach and bolting it into place.

Once the steering box was back on the front beam, it was time for the rest of the fun, clean work.  This is what I had been looking forward to for so long.  And, it went exactly as I'd hoped.

The long tie rod and new end.
Steering damper, too.
Slowly I was able to fit all the parts back together, carefully buffing and cleaning up each bolt, bracket and nut as I went along.  Some of the parts, like the tie rods, had already been sanded and painted, and just had to install the brand new ends.  I measured the old tie-rods carefully so when I fitted them back in, they dropped in perfectly!

A new front end is installed!
The best part of this whole exercise was this, the final assembly.  I collected all the clean, painted and new pieces and proceeded to put it back together like a big metal model.  After assembling countless models with their decorative little tie-rods and wheel spindles, it was a delight to put together something massive and real.

I love it when that happens.

Next:  Back to the back...

Wednesday, June 8, 2011

Trailing Arms


The frame is ready
The trailing arm is in.
There are parts of this process that I literally dream about, and many more that I simply think about all the time, but the task I completed yesterday was one I have been anticipating eagerly for the last couple of months in particular.  This was the replacement of the rear trailing arms.

With the new bushings pressed in, it was a simple, but time consuming matter of buffing off all the rust and dirt patina, priming, painting and re-installing.  The surfaces of the trailing arm are extremely complex, so I had to settle for getting most of the crud and minimizing the rest.  I also finished painting the rear torsion beam and all the mounts, so the frame was ready to receive the newly refurbished parts.

It looks good, right?
Well, it was installed wrong.
Of course, I had trouble recalling just how it went back together at first, so, the first thing I did was to put the left trailing arm in incorrectly.

However, thanks to this blog and the Xoom tablet, I was able go online and to find some pictures of what it looked like before I took it apart.  It turns out that the two big washers actually go next to each other (not on either side of the bushing as seemed logical) and the nuts (with the thin washers) go on the outside of the spring plate.

Back in, correctly!
How it looked when it came out...
Before...spring bolts.
After, spring bolts.
Having the 'before' picture is more than a nice device to show how much progress I've made.  It's also a good way of seeing how it is supposed to go without pondering the cryptic and woefully under-illustrated manual.  The manual will simply say, "remove/replace the bolts" while saying nothing about the direction it's supposed to go, or order of the washers.

Well, with the left side back in correctly, it was quite easy to put the right side in, all done before dark.

Before...trailing arm bolt.
After, trailing arm bolt.
As I have said, and will no doubt say again frequently as this thing comes together, this is a very satisfying part of the process.  Dreaming of the moment doesn't even compare to the pleasure I get when those nice clean parts fit into their places.

The nice part about this is that I have several more months of it to look forward to.

Next, it's back to the front end for some heavy metal.

Monday, June 6, 2011

Going the Other Way

Ready to start rebuilding at last
The frame is ready
I have now been working on the Ghia for over ten months, and I can finally say that I have started going the other way.

That is, I am at long last putting parts back on the car instead of the other way around.  The first piece to actually start this process was the freshly cleaned and repainted front beam.

First, of course, we had to turn the frame back over.  This gave me the chance to paint the primed rear suspension pieces, effectively finishing the process of cleaning the frame.

The front end is ready
So, on it goes...
With fresh clean bolts.
It was a real pleasure, putting this piece back on.  I enjoy all the aspects of this project, but it is the reassembly that I have been looking forward to since I bought this rust bucket in September of last year.  Of course, there are still a lot of parts to be cleaned as they get replaced, but I think the dirtiest parts of this job are behind me.

After all the time it took to get it off though, it went back on in just a few minutes.  I elected not to paint the bolts, choosing instead to just hit them with a little clear acrylic after they are tightened up.  This will keep the rust at bay for a little while, anyway.

Next up are what I call the 'heavy metal pieces', the suspension parts like the torsion arms and spindles.  With the new ball joints installed, these need to be buffed and painted before they can return to their original positions.

Torsion arm is cleaned...
...and painted!
I could almost put the whole front suspension back together but for the fact that I am missing those torsion springs that had rotted in the lower front beam tube.  That's a project for next Saturday and a trip to the junkyard.

Next: re-installing the rear trailing arms.